To create quick notes on Windows 11, the Sticky Notes app is available. With it, you can create notes, add a picture, add text formatting, and can stick notes to the desktop. However, if you’re an iPhone user, then you might be an extensive user of iOS Notes App. And, if you own a Mac, then the Notes app sync easily with MacBook.
But, if you’re a Windows user, then you won’t find Apple’s Notes app on Microsoft Store. Then, you have to try some other ways to transfer iPhone notes to Windows 11. And, in this article, we will discuss them all.
Access iOS Notes on Windows 11
Contents
Method 1: Use iCloud to Copy and Download Notes on Windows
In 2011, Apple released its iCloud service. By using it, Apple users can store their photos, videos, documents, notes, and contacts on Cloud. And, Apple does offer free 5 GB of storage on iCloud. Once you sync your Notes with iCloud. After that, you can easily access Notes on your computer. Because you can access iCloud using any web browser.
Sync Notes App with iCloud.
- First, open the Settings App on your iPhone. And, tap on your Name.
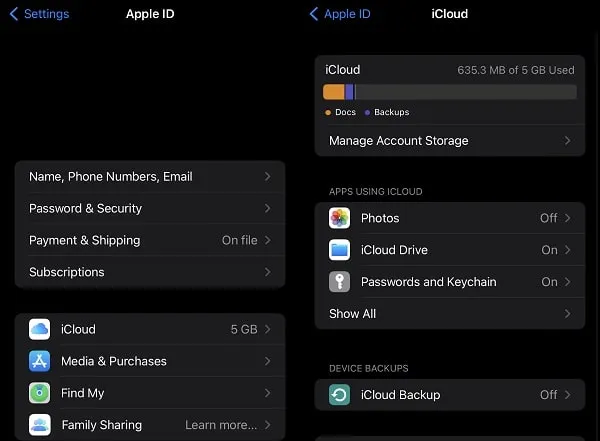
- Apple ID settings will get open, tap on iCloud.
- From Apps using the iCloud section, tap on “Show All”.
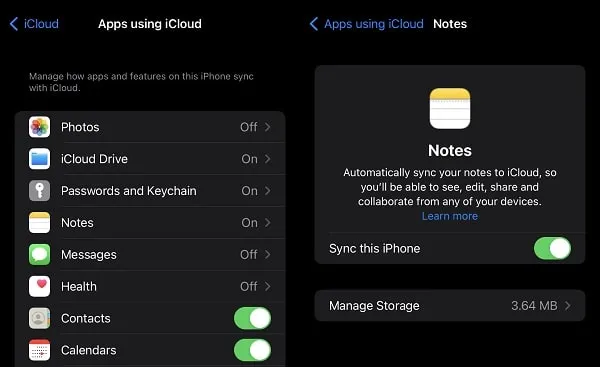
- Tap on Notes App. And after that, enable the “Sync this iPhone” option.
Once, your all Notes get synced successfully, you can open iCloud on your Windows 11 Computer.
Open iPhone Notes on Computer using iCloud.
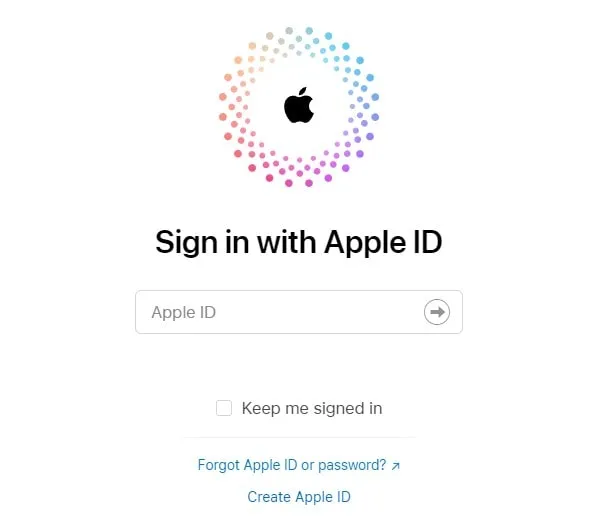
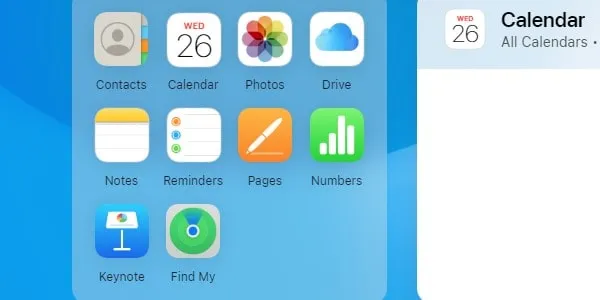
- Open iCloud.com on your Computer. Click on Sign In.

- Sign In with Apple ID screen will appear. Do enter your Apple ID and Password to Sign In.
Yes, you have to Allow sign-in requests from your iPhone. And also you have to enter a code from your iPhone to sign in.
- Once you signed in, iCloud will ask you whether you trust the browser or not. Click on Trust.

- That’s it, you have successfully logged into iCloud. Click on Notes.
- iCloud Nots will get open. Now, you can see all iCloud Notes.
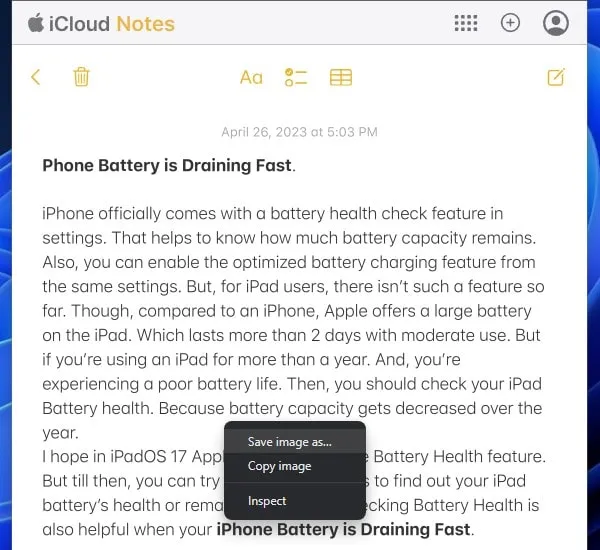
- Open any Note that you want to Save. You can now copy and paste notes to your Microsoft OneNote App. Or, any other preferred notes app.
- Alternatively, you can right-click anywhere on opened Notes. And, Click on Save Image As.
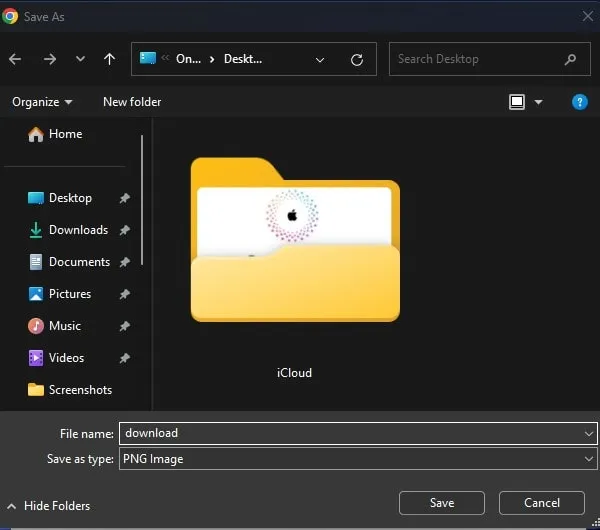
- Save as Window will open, select desktop and click on Save.
Method 2: Send Note to Windows Notes App
There are several good note-taking apps available for Windows 11. Like Microsoft OneNote, Simplenote, Google Keep, and Evernote. Once, you install one of these apps on an iPhone and Windows. After that, you can easily transfer Notes from iPhone to Android.

Since Microsoft OneNote comes pre-installed on Windows. And, it syncs across devices using Microsoft Account. That’s why, I suggest you use OneNote to transfer iPhone Notes to Windows 11.
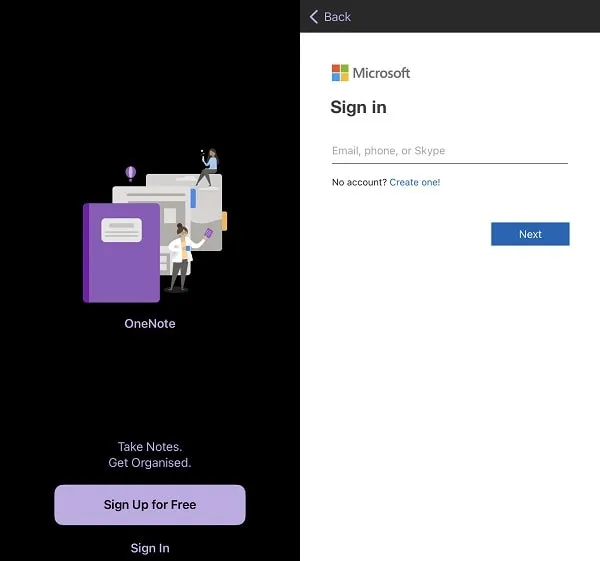
- First, do install Microsoft OneNote App from App Store on your iPhone.
- Open the App and log in using your Microsoft Account. Do use the same account, which is logged in to your Computer.
- Now, make sure OneNote App is installed on your Windows Computer. And, you have logged in using Microsft Account. If not then do install it from Microsoft Store.
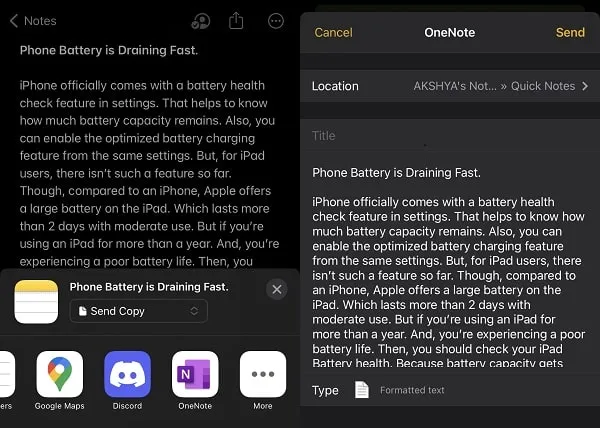
- Once the OneNote app gets set up successfully. Do open a Note in the Notes App.
- Tap on Share Icon and you will see multiple options to share. Swipe from right to left and you will OneNote App. Tap on it.
- The OneNote sharing window will get open, you can select the OneNote location. Click on Send.
- That’s it, now open the OneNote app on Windows 11 Computer. And, check the right side of the screen, you will find your iPhone Note, click on it.
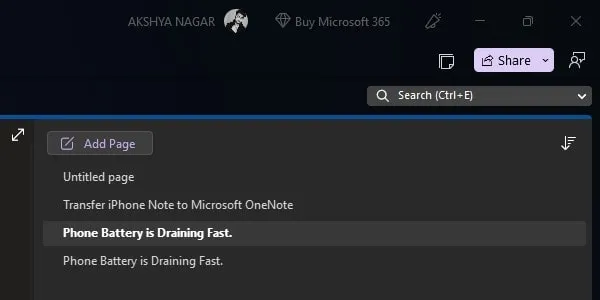
- Yes, sometimes, OneNote doesn’t sync well. So you can use any other your favorite note-taking app.
Method 3: Connect Gmail to Notes and Create Notes.
Apple allows adding Microsoft Exchange Gmail, Yahoo, AOL, Outlook, and other accounts to Notes App. So that, you can easily sync notes across various accounts. So, we are going to add Gmail to Notes App. By using this method, we can create Gmail Notes in Apple Notes app.
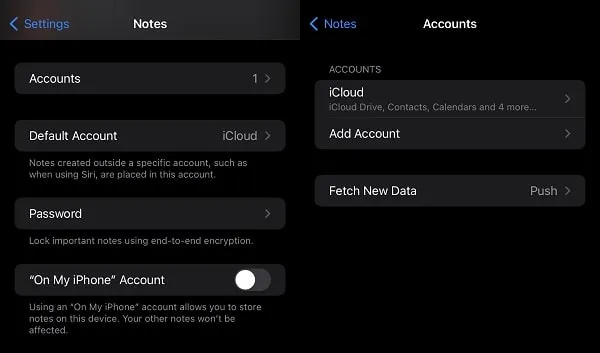
- Open the Setting App on your iPhone, scroll down, and tap on Notes.
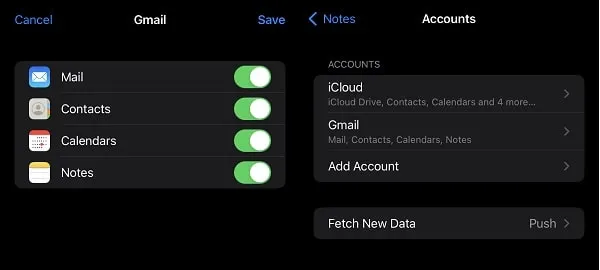
- Once Notes settings get open, tap on Accounts > Add Account.
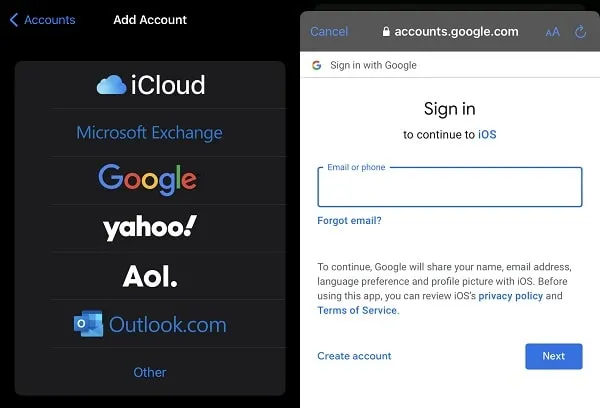
- You will now get multiple account options, tap on Google.
- The Google login page will get open. Enter your Google account details to log in.
- Once, you successfully logged in, select Notes App and tap on Save.
- That’s it, your Gmail account will get added to Notes App.
- Open the Notes App, and tap on Folders from the upper left corner of the screen.
- You can now see the Gmail section, tap on Notes. After that, tap on Create New note icon.
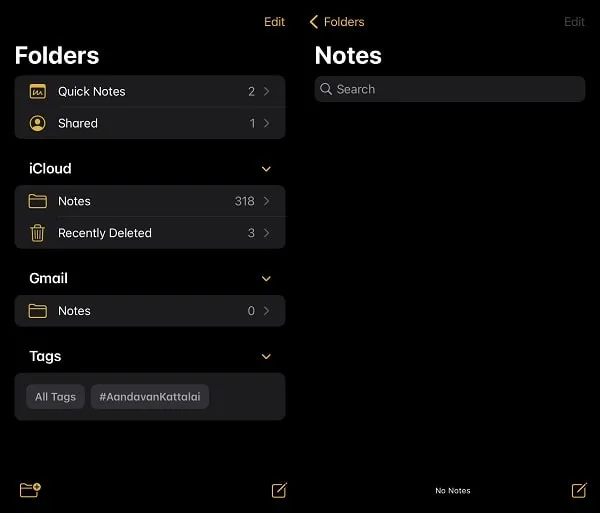
- A new empty note will get opened. In which you can create a new note by typing text. Or, you can copy-paste text from iCloud Notes.
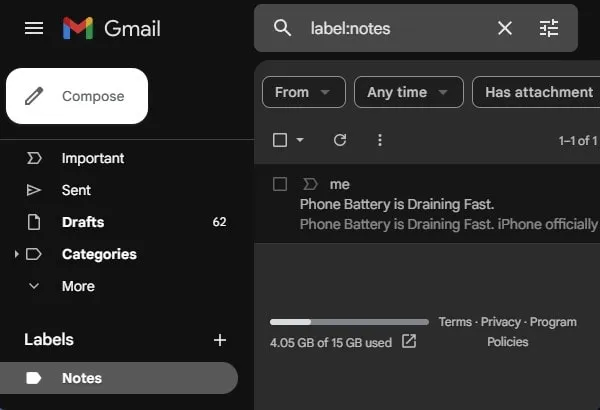
- Now, open Gmail in any web browser. And, tap on Notes from left-pane. You will now find all notes created in Notes App.
Summing – up
So these were some easiest ways to transfer or access iPhone Notes on Windows 11 Computer. You can use sync notes with iCloud and use it on Computer. Or, you can use any popular note-taking app to send notes. Moreover, you can also add a Google account to Notes App. And, can easily transfer notes directly to your Gmail Account. Yes, there are some other ways as well to share notes on Windows. And, if you also know any other better way, you can leave a comment.