If you want to Password Protect a Folder on Windows 11. Then, you won’t find any native option in Windows. But, it doesn’t mean you cannot secure your precious data. Yes, you can, and this article will help you to do so.
You can secure your Windows through Password, PIN, and even Fingerprint. But, it doesn’t Secure your files and folders. Because by clean installing Windows anyone can get access to data stored on your local disk. Yes, you can add a password on your drive through BitLocker. Moreover, you can encrypt files and folders through BitLocker. But only Windows 11 Pro users get the BitLocker feature, it’s not available for Windows 11 Home Edition.
It’s always better to store important files in Cloud Storage Services. But, if you prefer storing friends and family photos, bank information, and business documents locally. Then, instead of a password, you should encrypt files and folders. However, adding a password to your local files and folders will give you extra security. So that, unauthorized users cannot access your data.
There are so many ways available to add a password to folders. In this Windows 11 Guide, you will find all the working methods. Let’s get started.
Password Protect a Folder on Windows 11
Method 1: Use 7-Zip to Password Protect Folder
7-Zip is a free and open-source lightweight file archiver utility. It not only allows for extracting and compressing files. But, it also provides encryption options. Yes, with 7Zip you can easily Password Protect any File or Folder. But, you have to compress the folder to protect it using a password. You cannot directly put a password over a folder using 7-Zip.
- Do download the latest version of 7-Zip from its official Website. It is available for Windows 32-bit and 64-bit systems.
- Right-Click on the 7-Zip setup file and click on “Run as administrator”. UAC window will appear, click on Yes.
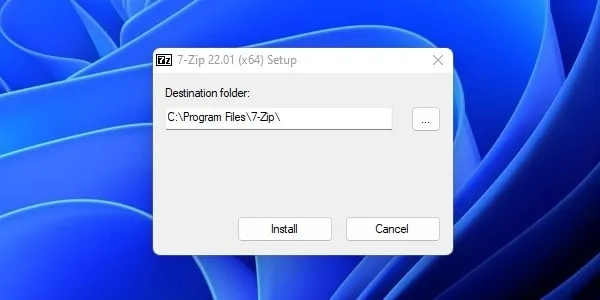
- A 7-Zip setup window will appear, click on Install.
- 7-Zip will now get installed, click on Close.
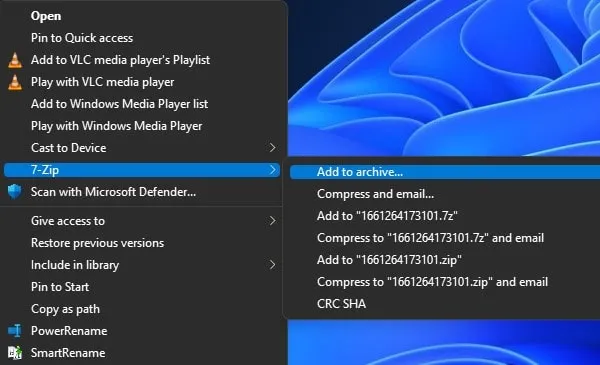
- Right-Click on the folder that you want to protect and click on Show More Options.
- Now, select the 7-Zip option and click on “Add to archive”.
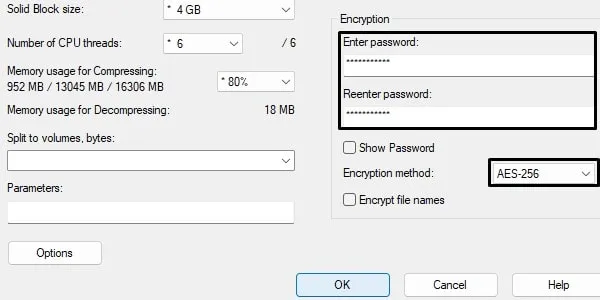
- “Add to Archive” window will appear, now in the encryption section enter a password. You can also change the archive format if you want.
- Keep “AES-256” Encryption selected and click on OK.
- A new compressed file of the folder will get created. Now, do try to Extract the File using 7-Zip. (Access the 7-Zip file menu by right-clicking over the file, to extract.)
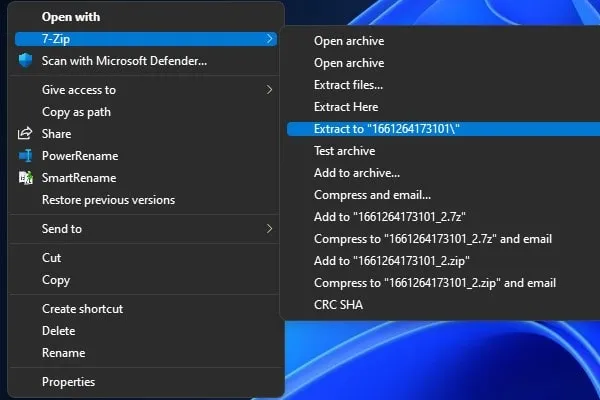
- And it will ask you to enter the password.
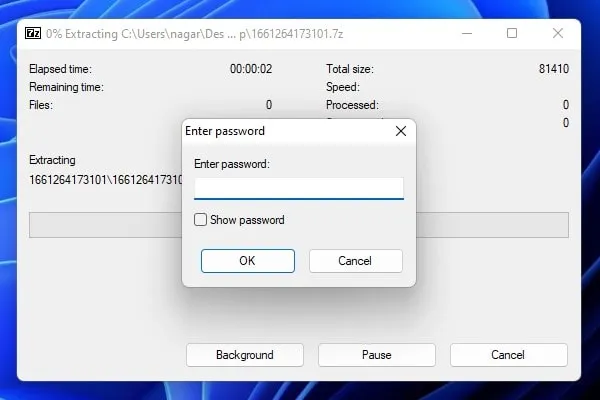
You can store the original file in the cloud and store compressed files on your computer locally. So, that’s how you can Password Protect Folder on Windows using 7-Zip.
Method 2: Install Folder Locker
7-Zip can only apply for password protection on the compressed folder. So, if you want to apply a password to a folder directly. Then, you can install a free and open-source utility called Folder-locker. Folder Locker is a Tiny Software that can lock a folder, without compression or encryption.
However, the software setup process is in the Chinese language. But, since the software works in the English Language, so you can use it. And, since its source code is available on GitHub, so it’s safe to Install. If you’re a developer, then you can use this software source code and build your own password locker.
The tool saves passwords in the local database. And, it doesn’t upload your database to any server. This means the software does work completely in offline mode. Here’s how you can install and setup Folder Locker in Windows 11
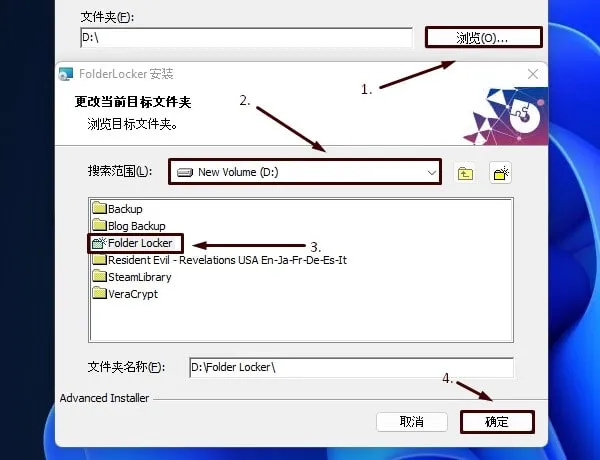
Note: Before continuing with the setup process. First, do create a “Folder Locker” named Folder Inside D Drive.
Install Folder-Locker on Windows 11
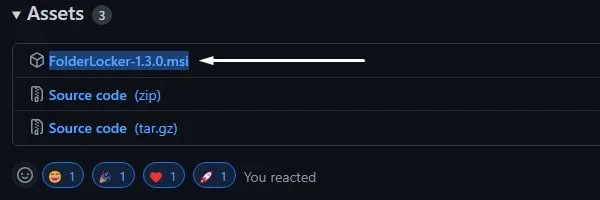
- Do download the latest version of Folder Locker from GitHub. Click on “FolderLocker.msi” to download. (Check Assets Section)
- Right-Click on the setup file and Click on Open.
- Windows Protected your PC window will appear. Click on More info > Run anyway.
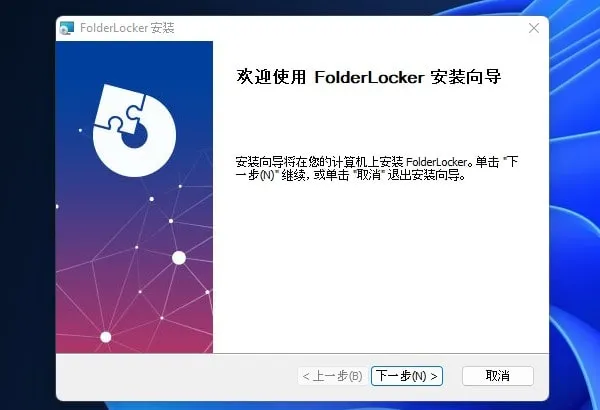
- The folder Locker Setup window will appear. Click on Next. (It’s highlighted text in Chinese.)
- Next Click on the Browse option. A new window will appear, click on Folder Locker and Select “Folder Locker” inside the D Drive. (Software Developer suggested installing it in D Drive.)
- Click on Next.
- Now, Click on Install Button. (Shield Icon)
- UAC Window will appear, Click on Install. (If not then check for the shield icon in Taskbar.)
- Click on Finish. Installation is now Completed.
Lock/Unlock Folder in Windows 11
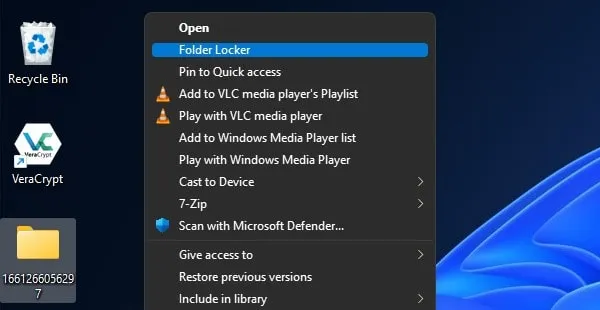
- Do right-click on any Folder and then click on Show More Option. After that, click on Folder Locker.
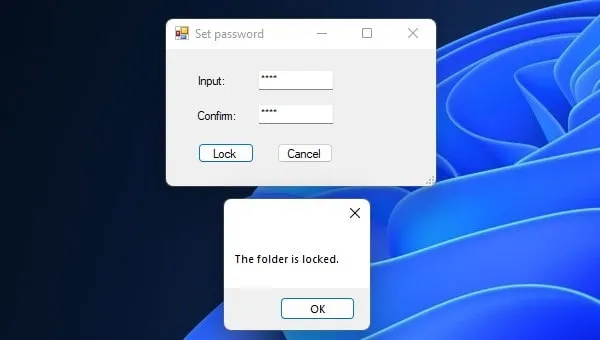
- Set Password window will appear, Enter your password and click on Lock.
- The Folder is locked window will appear.
- Now, close and reopen file explorer and you will see the Lock icon over the Folder. The folder is now password protected. Or, refresh your desktop, if the folder is on the desktop.
- To unlock the folder. Do right-click again on the folder and click on Show more options. After that, click on Folder Locker.
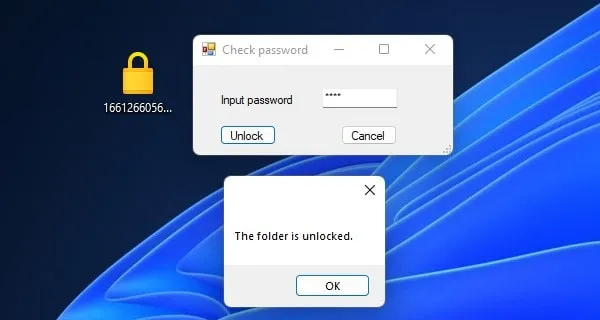
- That’s it, now input the password and click on Unlock.
- The folder is unlocked message will appear. Click on OK.
- That’s how you can lock and unlock the folder. But, the folder will not auto-lock again, you have to lock it again manually.
You can uninstall Folder-Locker anytime from Control Panel. But, don’t uninstall it before unlocking all locked folders. So, this was the method to Password Protect Folder on Windows using this tool.
Method 3: Password Protect Local Disk and Drive in Windows
It’s better to password protect the entire drive instead of password protecting just a folder.
Before you start downloading some third-party tools. Do you know, that you can password protect your Local Drive? Yes, Windows 11 Pro comes with BitLocker. That offers a full-volume encryption feature. So that, you can secure your data from malware attacks. The BitLocker encryption setup process also allows you to add a password on the drive.
However, the Encryption process does take too much time. So, it’s not recommended to encrypt large Windows partitions. BitLocker is good for external USB Drives and small disk partitions. It would be better if you create a new partition of around 32-64GB. And, secure all your important data in it using BitLocker.

Create a new Partition to Password Protect
- Do Right-Click on Windows Icon and then click on Disk Management.
- Now, right-click on any healthy (basic data partition) and click on “Shrink Volume”.
- A new small window will appear and will show you how much you can shrink the volume to create a new partition.
- Just for demonstration, here I am creating a 1GB Secure Drive. So, I am entering 1024 in “Enter the amount of space to shrink in MB”.
- You will now see a new Unallocated Drive in Disk Management. Right-click on it and then click on “New Simple Volume”.
- New Simple Volume Wizard will get open, click on Next.
- Setup will ask you to specify volume size, click on Next. No changes are required.
- Next, you have to assign a drive letter and click on Next.
- Format Partition Window will appear, In Volume Lable type “BitLocker Drive”. And, click on Next.
- That’s it, click on Finish. You have successfully created a new partition for BitLocker. Now, do store all your important documents in it.
Encrypt and Password Protect Drive using BitLocker.
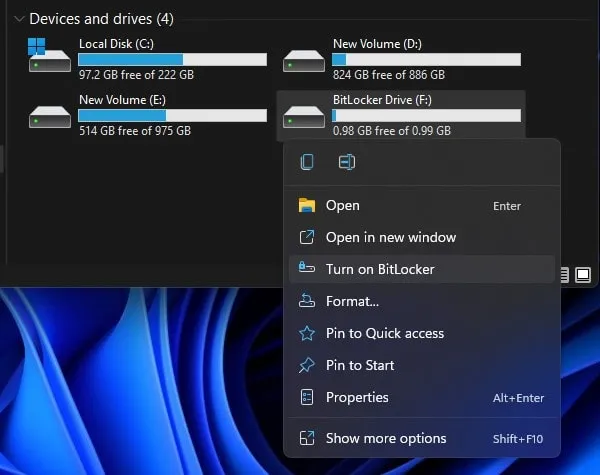
- Open File Explorer, right-click on BitLocker Drive, and click on “Turn on BitLocker”.
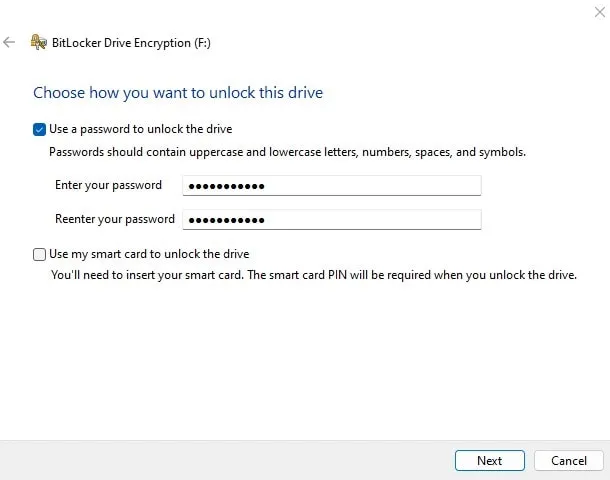
- BitLocker Drive Encryption window will appear. Select the “Use a password to unlock the drive” option. And, enter your password, and click on Next.
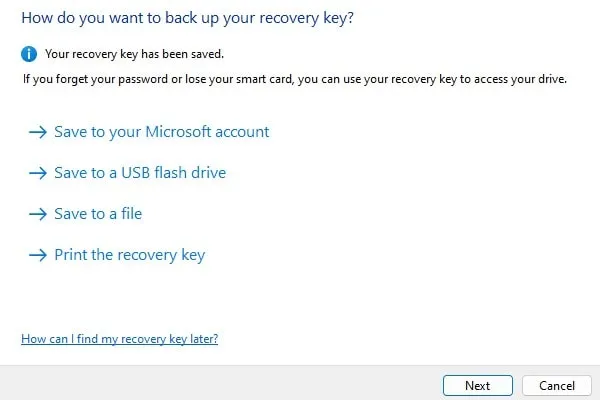
- BitLocker Drive Encryption will ask you to backup your recovery key. In case you forget your password. You can use any option to backup and click on Next.
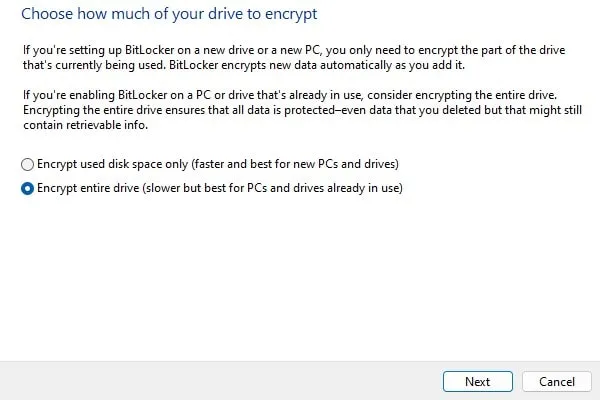
- Next, do select the “Encrypt entire drive” option. Click on Next.
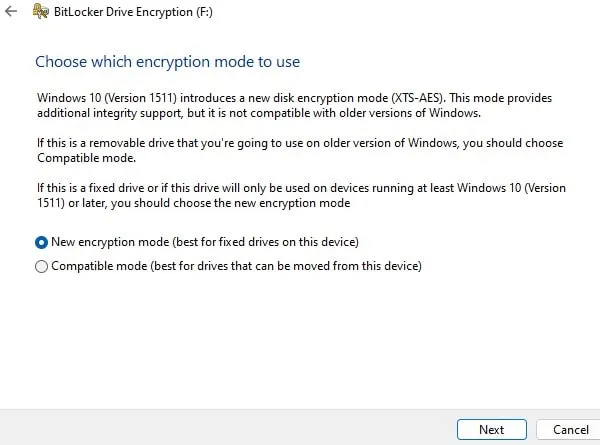
- Now, select the new encryption mode, because it’s a hard disk partition.
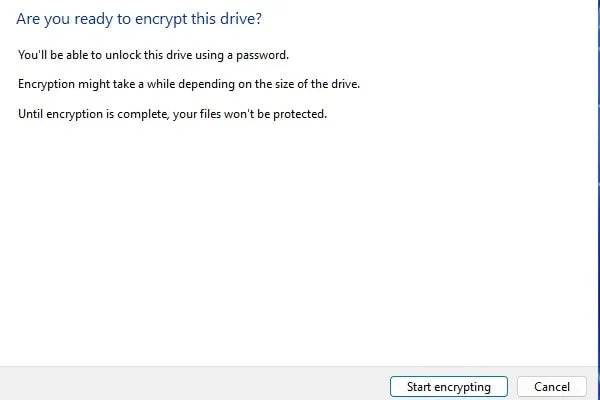
- That’s it, click on Start Encrypting.
- You will now see the encryption process. If not then check your Windows notification.
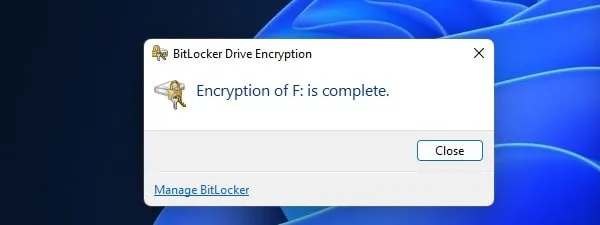
- Once, Encryption gets completed you will get a complete message.
- That’s it, now shut down your Computer and Start it again.
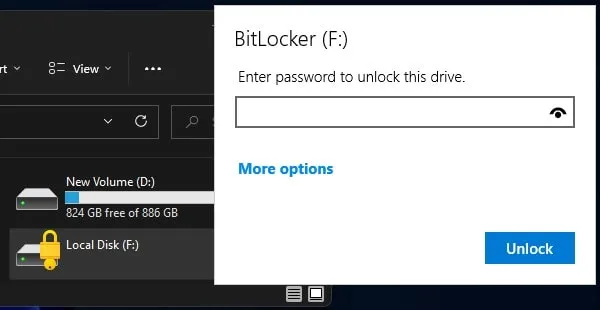
- Open File Explorer and try to open “BitLocker Drive”. It will now ask for the password. Enter your password to unlock Drive.
Method 4: Use a Folder Locker Batch Program
There are so many batch files available on GitHub to password protect folder on Windows 11 Computer. Although, it’s not a good idea to use a batch file to protect files. Because it doesn’t encrypt files. But, if your computer stays in offline mode. And, If you want to secure files from unauthorized access, then you can make use of it.
Password Protect a Folder
- Open Folder-Locker Batch File Page. And, click on Code > Download Zip.
- Folder-Locker-main.zip file will get downloaded. Do right-click on the zip file and click on Extract All > Extract.
- Open Extracted Folder and run the “Folder Locker.bat” file as administrator.
- Windows-protected your PC window will appear. Click on More info > Run Anyway.
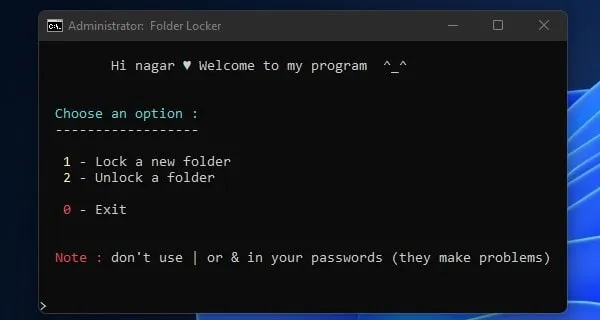
- UAC window will appear, click on Yes. After that, the Folder Locker will get open in CMD.
- Press Enter Key, and it will ask you to lock or unlock a folder, do press 1.
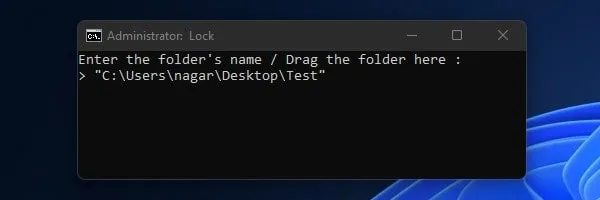
- Now, right-click on the folder that you want to lock. And, click on Copy as path.
- After copying the path paste it inside the Folder Locker CMD Window. And, press Enter key.
- Now, enter a password to lock the folder, and press enter.
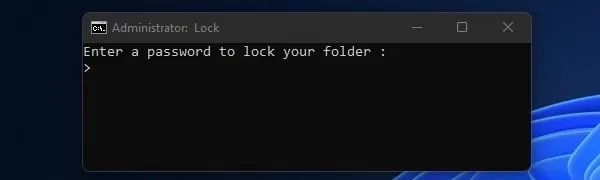
- The program will now ask again to enter the password. Do it and your folder is now password protected.

You will notice that the folder icon is now turned white. And, you will not able to access the folder. To access the folder back you have to use the same batch file to unlock it.
Unlock Password Protected Folder
- Again, run the same “Folder Locker.bat” file.
- This time enter 2 to unlock the file.
- Now, copy and paste the same locked folder path inside CMD. And, press enter.
- Next, Enter the password to unlock the folder. And, press Enter key.
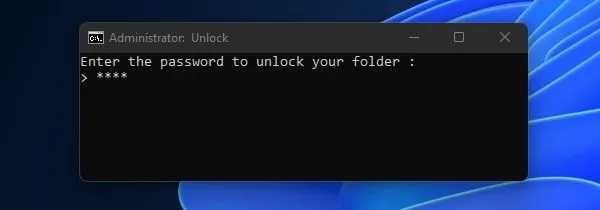
- That’s it, your folder is now unlocked and accessible.
Okay, so these were the tools to Password Protect Folder on Windows 11. Yes, there are a few other tools available like VeraCrypt. But, that’s too complicated. I suggest you use BitLocker to secure your Drive. Or, you can use 7-Zip or Folder Locker to lock files and folders on Windows.