Windows and macOS users do criticize each other OS. But, both OS have their own advantage. Like, there are some Mac-exclusive apps that aren’t available for Windows like Xcode, GarageBand, Final Cut Pro, Parallels Desktop for Mac, and many others. As you might be aware, by using Parallels Desktop, you can Run Windows on Mac. Similarly, you can Run macOS Ventura on Windows using VMware or VirtualBox.
Yes, since macOS is a closed operating system. So, it cannot be installed easily on any PC/Laptop. Even you need the macOS unlocker tool to run macOS Ventura on VMware. For many users, running macOS on Windows can be quite useful. Before purchasing a new MacBook, you may want to test macOS or run Mac-exclusive apps. So, here’s how, you can do so.
Prerequisites.
- VMware Workstation Player – Do download the latest version of VMware Workstation Player from its official Website.
- VMware macOS Unlocker Tool – Download the latest “unlocker.zip” file from Assets Section.
- macOS ISO File – Create macOS Ventura ISO File for VMware
Contents
Install VMware Workstation Player
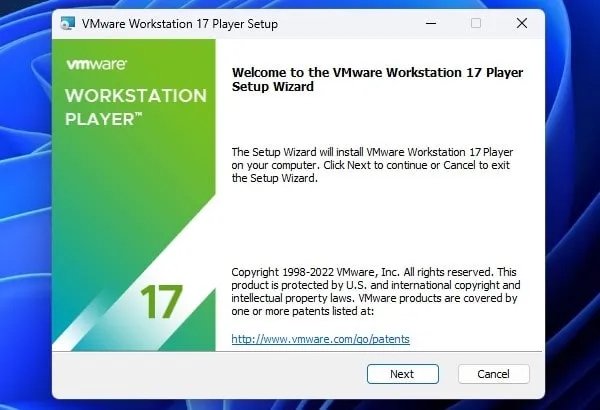
- Run the “VMware Player” setup file on your computer and perform the installation on your Computer. The installation process is quite simple but you need to enable a few options. So that macOS works well on your Virtual Machine.
- During the installation process make sure to select “Install Windows Hypervisor Platform (WHP) automatically”.
- Moreover, do enable these two options as well.
- Enhanced Keyboard Driver
- Add VMware workstation console tools into the system path
- Once, VMware Workstation Player gets installed. A small window will appear for you to ask to restart the system. Click on Yes to restart Windows.
Install macOS Unlocker Tool
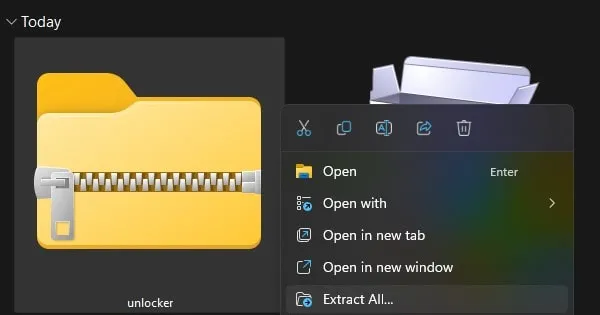
- Right-click on the “unlocker.zip” file that you have downloaded. After that, click on Extract All > Extract.
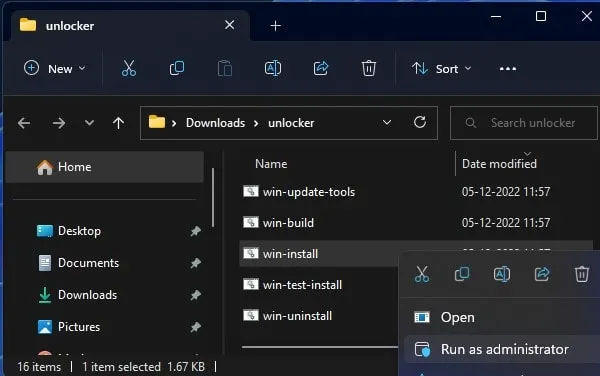
- Open Extracted Unlocker Folder. Right-Click on the “win-install” batch file and run it as administrator.
- Windows Protected your PC window might show up. Click on More Info > Run anyway.
- A CMD Window will now get open and the unlocker tool will download and install a package. So, make sure you have an active Internet.
- Once, the macOS Unlocker tool gets installed. CMD Window will get closed automatically.
Create a new macOS Ventura Virtual Machine
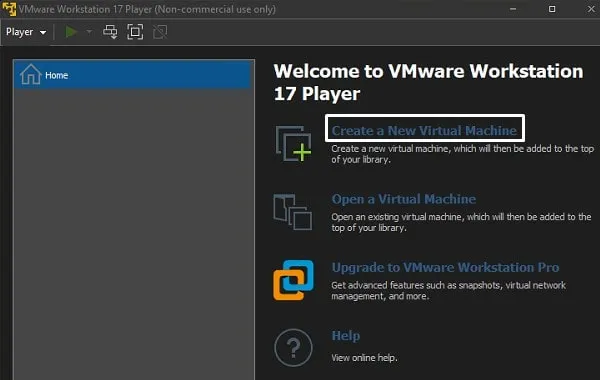
- First, do open the “VMware Workstation Player” program. A small welcome window will appear, select the “Use VMware Workstation Player for free for non-commercial use” option. And, click on OK.
- VMware will now get open, Click on “Create a new Virtual Machine”.
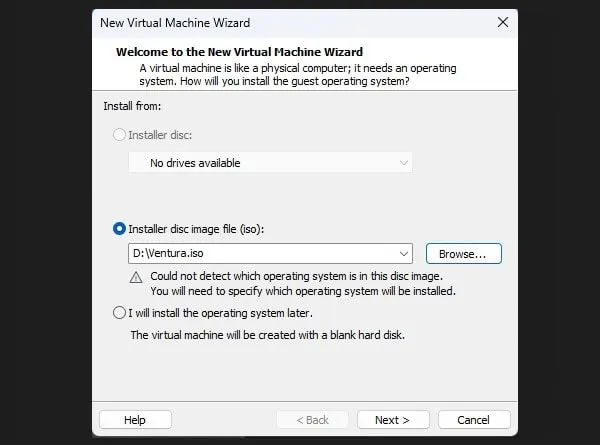
- New Virtual Machine Wizard will get open. Select the “Installer disk Image file (ISO)” option. Click on Browse and select Ventura ISO file. Click on Next.
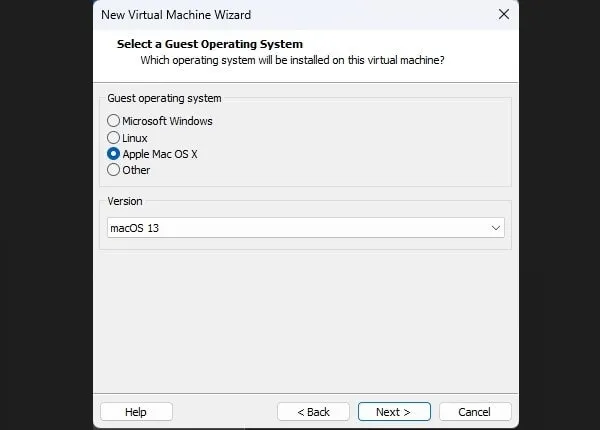
- Select the “Apple Mac OS X” option. And, in version, from the drop-down menu, select macOS 13. Click on Next.
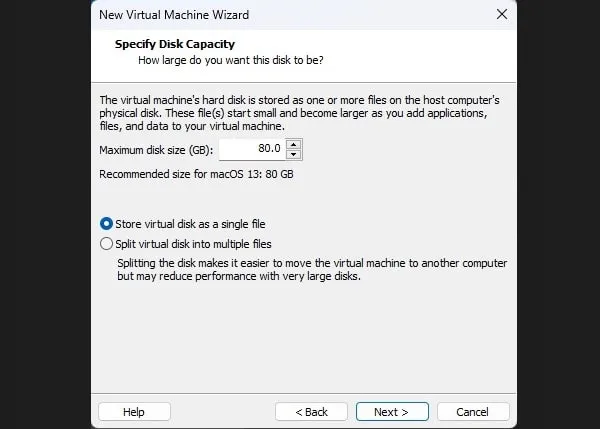
- In Maximum disk size, select between 80-100 GB. And, do select “Store virtual disk as a single file”. Click on Next.
- Now, click on Customize Hardware.
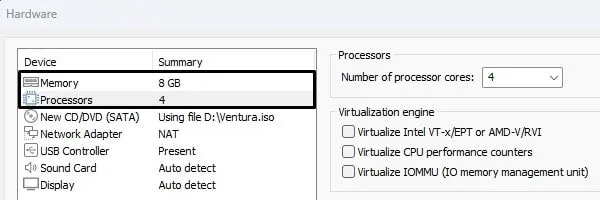
- The hardware configuration window will appear. In memory, select 8GB (8192MB) of RAM.
- Click on Processors and select 4 in the “Numbers of processors cores” option.
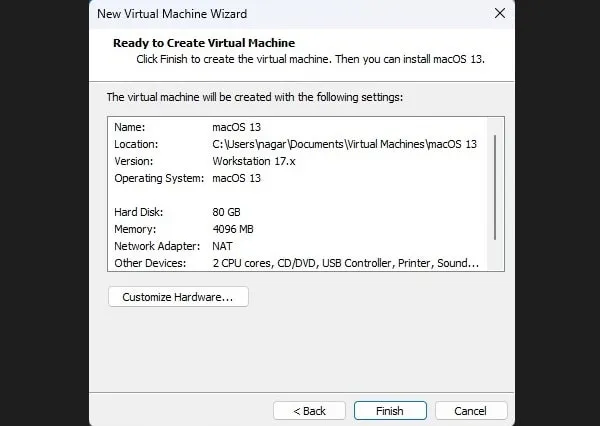
- Now, close the hardware configuration window and click on Finish.
- That’s it, you have successfully created macOS Ventura Virtual Machine.
Edit macOS VMX File.
- Open File Explorer and after that, go to Documents > Virtual Machines > macOS 13.
- Right-Click on macOS 13 VMX (VMware Virtual Machine Configuration) File and open it with Notepad.

- Scroll down at the bottom of the text and paste the following code.
smc.version = “0”
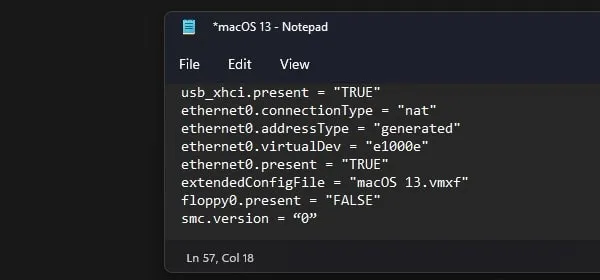
- After adding the code click on File > Save.
Run macOS Ventura Virtual Machine and Install macOS
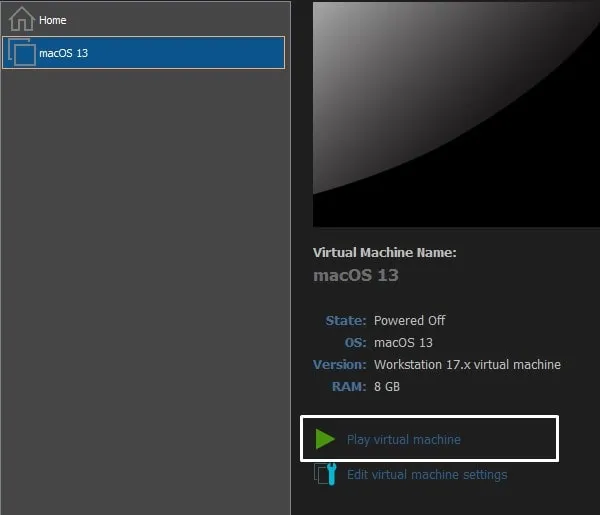
- Open VMware Workstation Player, select macOS 13 virtual machine, and click on “Play virtual machine”.
- Apple logo with a loading bar will appear. Wait for the virtual machine to boot up.
- A language window will appear, do select your preferred language and click on the next arrow to proceed further.
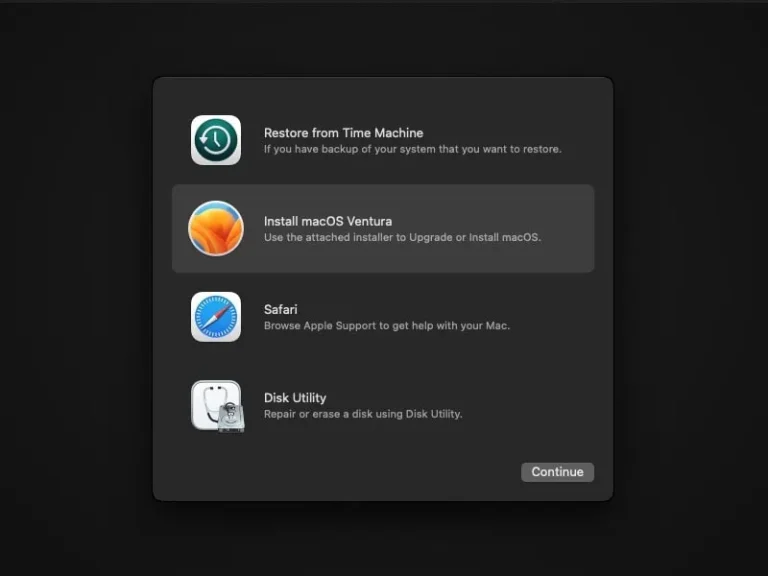
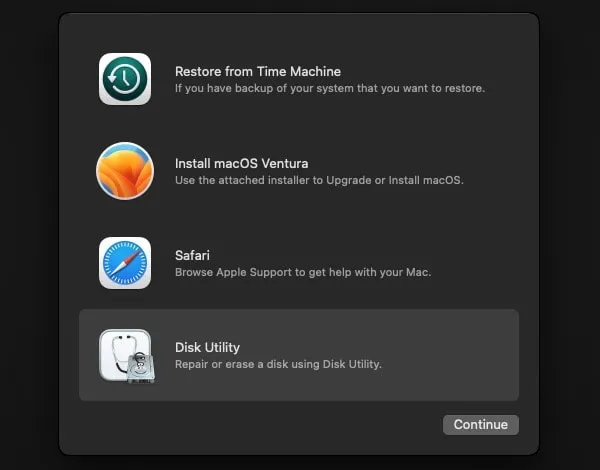
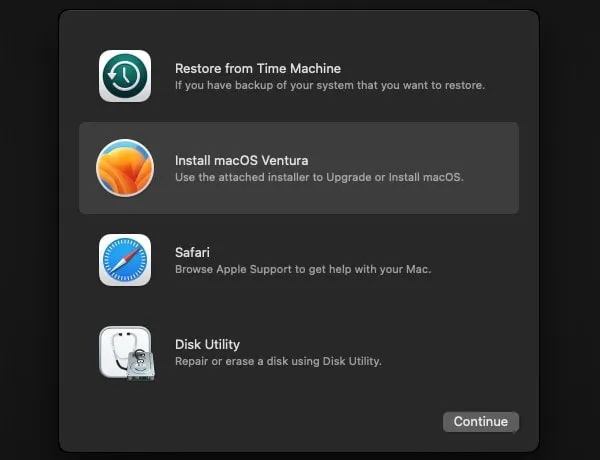
- On the next window, select the “Disk Utility” option. Click on Continue.
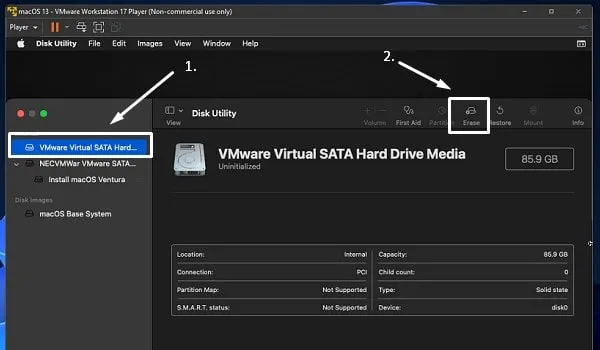
- Now, from the left sidebar under the internal section. Click on “VMware Virtual SATA Hard Drive Media”. And, click on Erase.
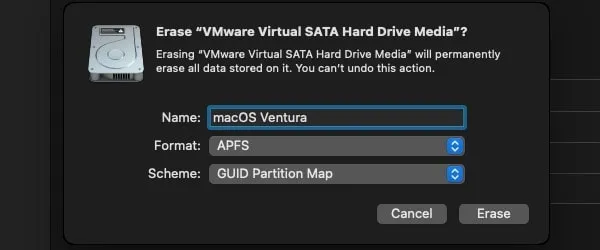
- A small window will appear asking you to erase the drive. Enter “macOS Ventura” in the name and click on Erase.
- Once, the Hard Drive Media erase process gets completed, click on Done.
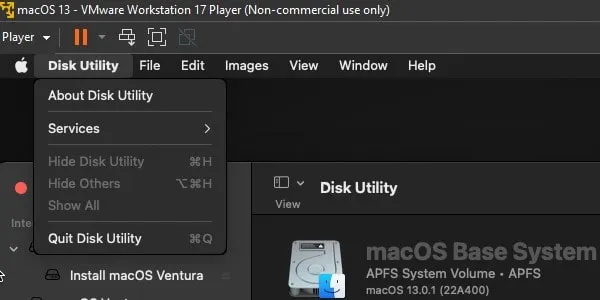
- Now, Click on Disk Utility from the upper left side menu. Click on “Quit Disk Utility”.
- Now, select the “Install macOS Ventura” option and click on Continue.
- macOS installation window will appear, click on Continue. After that agree with the license agreement. (You have to click two times on Agree for confirmation.)
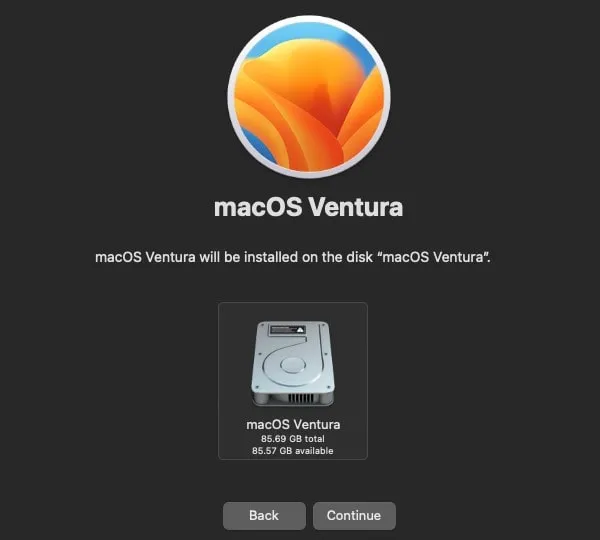
- Next, select macOS installation disk and click on Continue.
- macOS Ventura installation on the virtual disk will get started. Your machine might get restarted 2-3 times. Also, the installation process can take up to 30 minutes to 1 hour. So, keep patience and don’t close the Virtual Machine.
Initial macOS Ventura Setup.
Once the macOS Ventura gets installed on the Virtual Disk. You have to go through an Initial setup process. It is quite simple that you can do it yourself. After completing the setup process, you can use macOS Ventura without any hassle.

- Select your Country and Region and Click on Continue. After that, select written and spoken language, and click on Continue.
- Accessibility settings will appear, click on Not Now.
- Network settings will appear, keep clicking on Continue. Yes, Virtual Machine will not get connected to the Internet.
- Data & Privacy settings will appear, click on Continue.
- A migration Assistant window will appear, click on “Not Now”.
- Terms and Conditions window will appear, click on Agree > Agree.
- Create a Computer Account window will appear. From here you can create a local macOS account to log in. Make sure you remember the password that you enter. Click on Continue after entering all required details.
- Next, you can enable/disable location services and after that, you can select your time zone.
- After that, Analytics, and Screen Time windows appear, click on Continue.
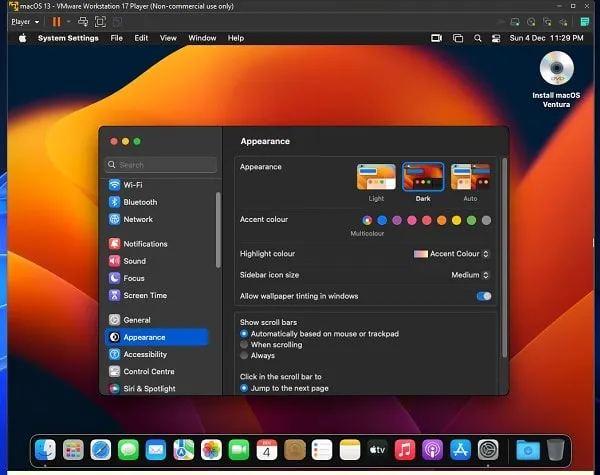
- That’s it, now select your preferred look and click on Continue. macOS Desktop will appear.
So, that’s how you can easily Install macOS Ventura on VMware on Windows 11. All you need to do is install VMware and macOS Unlocker Tool. And, by creating a virtual machine through an ISO file you can Run macOS Ventura on Windows 11.