Till a few years back, Chrome OS was only limited to Chromebook users. But, after Chromium OS released things have been changed now. Since Chromium OS is an open-source version of the original Chrome OS. So, there are a few other OS also available based on Chromium OS source code – CloudReady and Fyde OS. And now Chrome OS Flex is also part of the Chromium OS project.
What is Chrome OS Flex (CloudReady 2.0)?.
Back in 2018, Neverware partnered with Google for education (the company behind the CloudReady operating system). And, now in 2022, Google announced a successor to CloudReady, Chrome OS Flex (Also known as CloudReady 2.0). It is now Google’s official desktop OS that comes with support for Google Assistant and all other Google services and apps.
Initially, Google is making this new OS available for Education and Enterprise users for free. But now, no worries, you can also install Chrome OS Flex on Old Laptop and Macbook. The whole point of Chrome OS Flex is to reduce e-waste by making old computers reusable. This means it will utilize old hardware by offering a high level of performance. That’s why it’s definitely worth a try if you do most of your work in Chrome.
Difference between Chrome OS Flex and Chrome OS.
Although, Chrome OS Flex seems very similar to Chrome OS (available only for Chromebooks). But, there are some differences that you should be aware of. If you know, Chromebook comes with a Google security chip to protect the system and verify hardware and OS. But, since Chrome OS Flex can be installed on any device, you will not get the same benefits. You will not get BIOS or UEFI firmware updates, for that you have to depend on OEMs.
Chrome OS Flex doesn’t support Android apps or Google Play. Since Cloudready’s addition of Linux support, Chrome OS Flex also now supports the same. So, that’s a good thing, I think. Unfortunately, you cannot run Chrome OS Flex in VirtualBox. But, you can try Chrome OS on any computer without installing it. Yes, it is possible by creating a bootable drive. If you ever used Chromebook, then shortcuts to it will not work in Chrome OS Flex. Because the keyboard layout isn’t the same. So these were some major differences.
Hope, now you know about Chrome OS Flex and how it is different from the original Chrome OS. So, let’s proceed with the Chrome OS Flex Installation Guide.
Contents
Install Chrome OS Flex on Old Laptop/PC.
Chrome OS Flex Minimum System Requirements.
Google has created a list of certified models, which can run Chrome OS flawlessly. You can explore that list and look for your laptop model number. And, even if your laptop model isn’t on the list, then you can still proceed with the Chrome OS Flex Installation.
- Intel or AMD CPU with x86-64-bit architecture.
- Minimum 4 GB of RAM. (Because OS is dedicated to Chrome Browser users. 😛 )
- 16 GB of Internal Storage.
- Processor and graphics made before 2010 will face performance issues.
Note: According to Google, Intel GMA 500, 600, 3600, and 3650 graphics hardware is not compatible with Chrome OS Flex. But no worries, you can try to install ReactOS or AiryxOS. They both work perfectly on old hardware.
Create a Chrome OS Flex USB Installer
So, if your system meets the Chrome OS Flex Requirements, then you can start creating a bootable USB drive. And, with USB Installer, we can install Chrome OS Flex on an Old Laptop/Computer. You can create a USB Installer in Windows, Mac, or even on a Chromebook. Because we are going to use a Chrome Extension. In addition, you need a USB Drive with a minimum of 8GB of storage space. (Sandisk USB Drive will not work.)
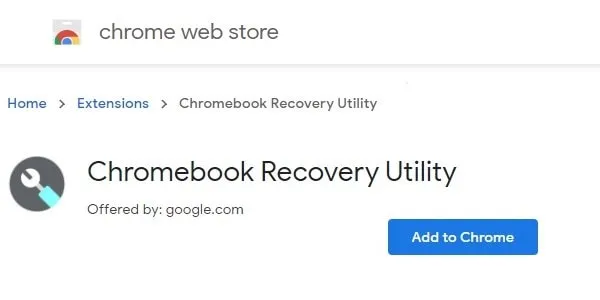
- First, open the following link to install the “Chromebook Recovery Utility” Extension.
- Click on Add to Chrome.
- A popup will appear. Now click on “Add Extension”.

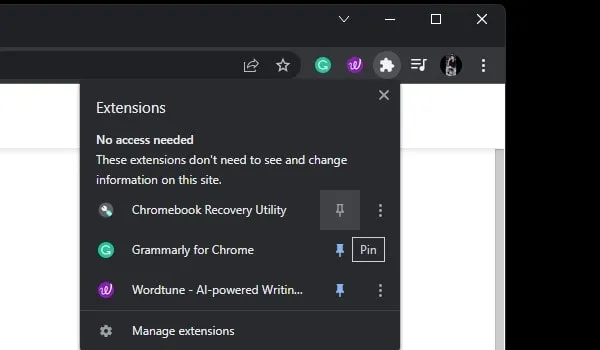
- Now to pin the “Chromebook Recovery Utility” extension icon, click on the Puzzle Icon. Click on the Pin Icon next to Chromebook Recovery Utility.
- Now, connect USB Drive to PC/Laptop. And, make sure there isn’t any important data on the USB. Because while creating USB Installer, all data will get erased.
- Click on the Chrome Recovery Utility icon in Chrome.
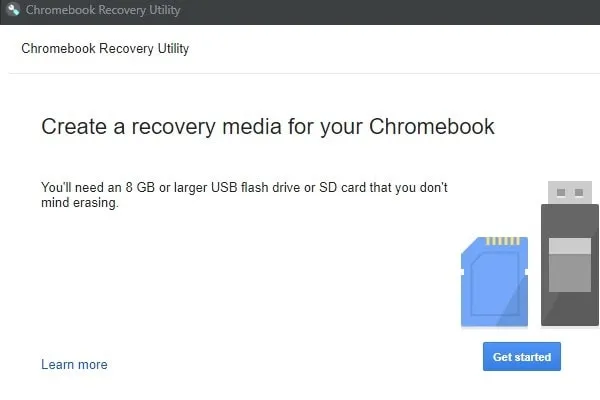
- Utility Window will now get opened in a separate window.
- Click on Get Started.
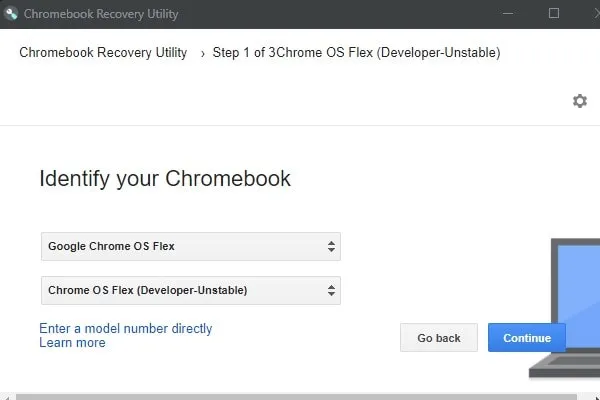
- Next, it will ask you to identify your Chromebook. Click on “Select a model from a list”. (Because we are not creating a bootable drive for Chromebook.)

- Now, click on “select a manufacturer”. And, from the drop-down menu, do select “Google Chrome OS Flex”.
- After that, click on “Select a product”, and do select “Chrome OS Flex (Developer-Unstable). Click on Continue.
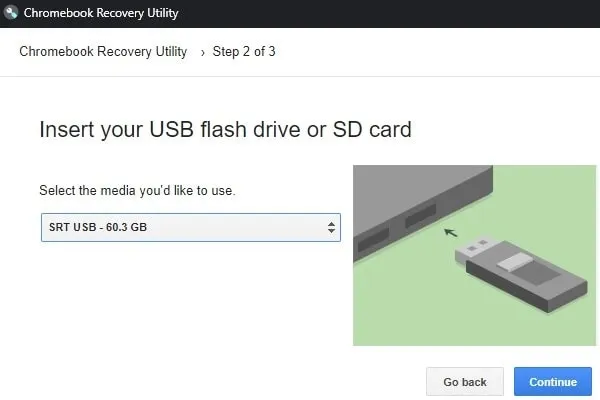
- Now, select USB Drive and click on Continue.
- Next, click on “Create Now”. (All data and partition will get erased from the USB Drive.)
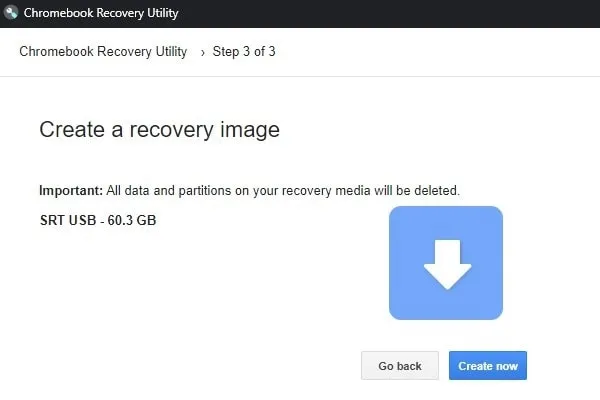
- That’s it, the Chrome Recovery Utility will now start downloading Chrome OS Flex. And, will write on USB Drive, so that you can boot OS from it.
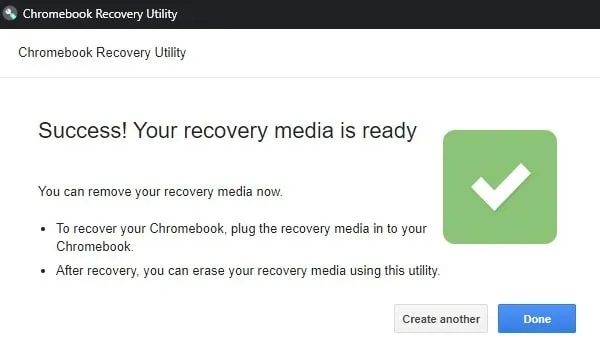
- Once the process gets completed. You will get a message that “Success! Your recovery media is ready”. Click on Done.
Boot Chrome OS Flex from USB Drive.
Note: I have an old HP Laptop. So I tested Chrome OS Flex on it, and it was working flawlessly. Even that laptop isn’t on Google’s verified list.
- Once you successfully create a bootable USB drive, insert it into the laptop/PC.
- Now, you have to boot the device from the USB drive.
- Press the power button to turn on the laptop. And, immediately, do start pressing the key repeatedly to boot from it. Every manufacturer has its own specific key to option boot device options.
- For example – On my HP Laptop by pressing the Esc key repeatedly, I can interrupt the boot process. And, after that, by pressing the F9 key, I can select boot device options.

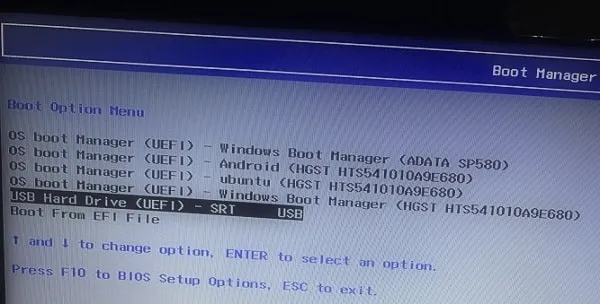
- And once the boot manager window appears, I can simply select USB Drive.
To make it simpler for you here is the list of Boot Keys. Although, Boot keys can be different for different laptop models.
| Motherboard/Laptop Manufacturer | Boot Keys |
| HP Laptop | Esc to Pause Startup after that F9 |
| Apple Macbooks and Computers | Hold Option (next to the ⌘ key) |
| Acer Laptop | F2, F12, F8, F10 |
| Asus Laptop | Esc, F8, and Delete |
| Dell Laptop | F12 and Delete |
| Lenovo Laptop | F12 or (Fn+F12) |
| Toshiba Laptop | F2 or F12 |
| Other Manufacturer Laptops | Keep Pressing Esc, F2, F10 or F12 or Delete Keys (Or, search on Google for it.) |
Note: In some laptops or computers, you have to first open BIOS Settings. In BIOS, by navigating to the boot selection menu you can change boot device priority. You have to set the Chrome OS Flex USB drive as a primary bootable device.
Get Started with CloudReady 2.0.
Try Chrome OS Flex without Installation.
- Once, you successfully boot from USB Drive. First, the Chrome OS Logo will appear.
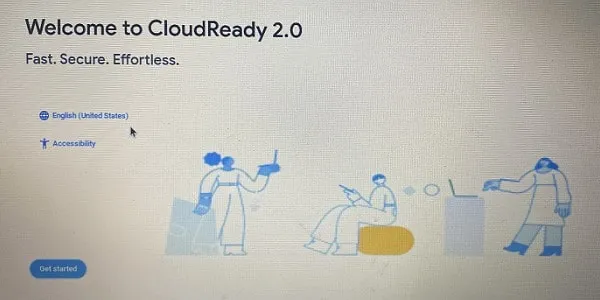
- After that, the Welcome to CloudReady 2.0 screen will appear. Click on Get Started.
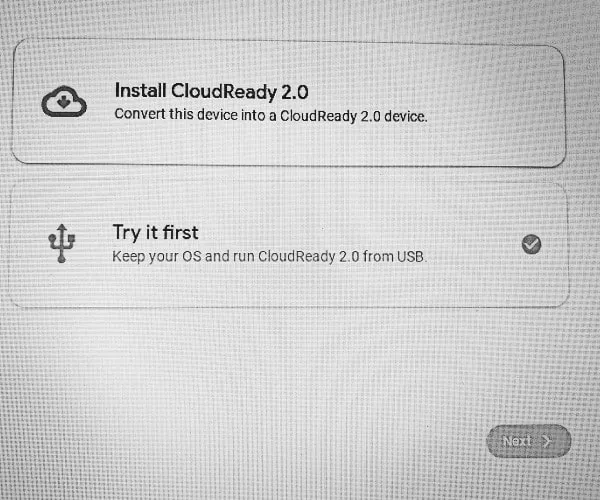
- Next, the Start using CloudReady screen will appear. Click on “Try it First”.
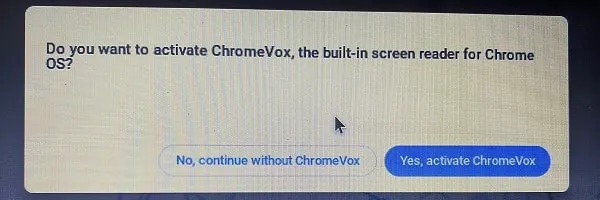
- Also, if you see a popup to activate “ChormeVox”. Click on the “No, Continue without ChromeVox” option. ChromeVox is basically a built-in screen recorder with a narrator. You can enable and disable it anytime by pressing the “Ctrl + Alt + Z” keyboard shortcut.
Important: This option will let you try Chrome OS Flex from the USB drive without installing it on your hard disk. And, if Chrome OS works well on your system then you can proceed with the installation.
- Next, Chrome OS Flex will ask you to connect to WiFi. Because this OS works entirely with the Internet.
- Once, you connect CloudReady 2.0 with WiFi. Google Terms window will appear. And, after that, it will ask you to sign in using your Google Account.
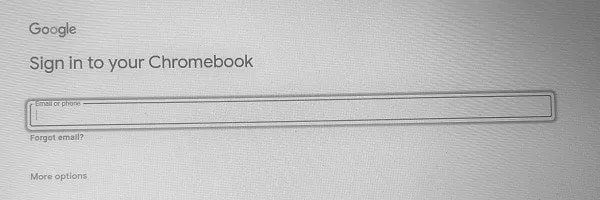
- If you don’t want to sign in, you can click on “Browse as Guest”.
- And, if you do sign in. Then, some default Google options to set up Google Assistant and Connect Android smartphones will appear.
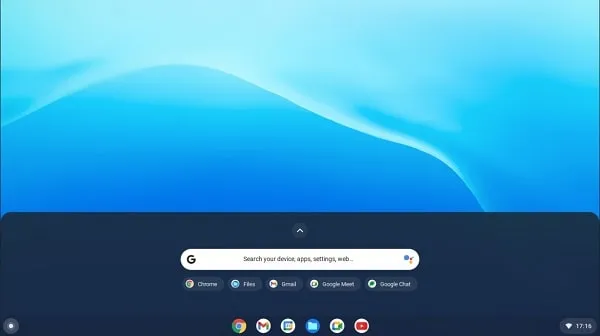
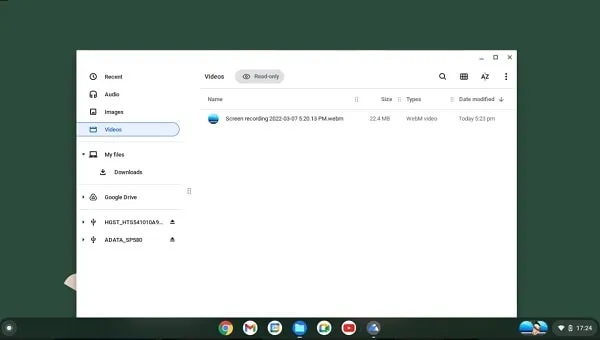
- After that, Chrome OS Flex will get open. And, you can use it for a while to test how it works in your system.
Install Chrome OS Flex.
OK, so if you find Chrome OS Flex useful. Then, you can proceed with Installation.
- You can simply shut down Chrome OS Flex. And, boot again from USB Drive to get back the install option.
- Or, just open quick settings. And, sign out from Chrome OS Flex.
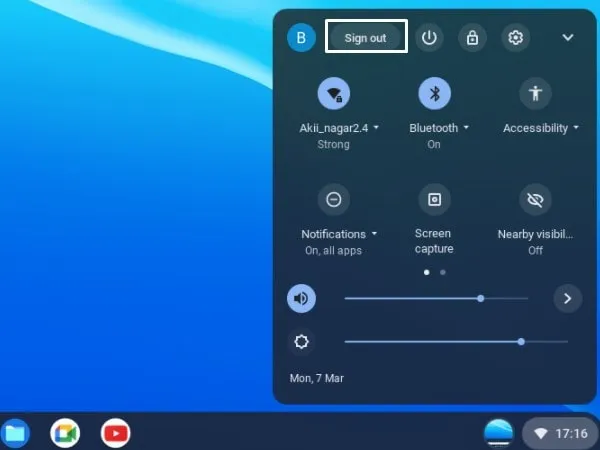
- And, once you sign out, you will see the “Install CloudReady” option. Do click on it.
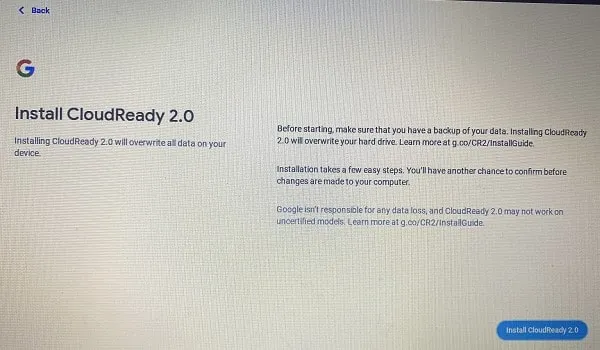
- Click on Install CloudReady 2.0.
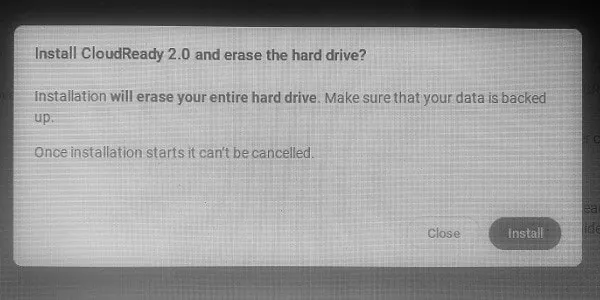
- Next, the “Install CloudReady 2.0 and erase the hard drive?” screen will appear. Click on Install.
Note: This option will delete all partitions and data on your hard disk. Not just C Drive, your entire hard disk will get erased. So, be careful, before you click on Install.
- Once the installation process gets completed. Shut down and remove USB Drive. That’s it, your laptop will now by default boot into Chrome OS Flex.
Okay, so this was the installation guide to install Chrome OS Flex on an Old Laptop. Since Chrome OS Flex doesn’t support Android Apps. So, many people still might be confused. Because there are many Android OS available for old computers. Although, if you have an old Windows laptop, which doesn’t work fast. And, you do most of the work on the Internet. Then, Chrome OS Flex can give your old laptop a new life. If you face any issues during installation, let me know in the comment section.