
In Windows 11, Microsoft has made numerous changes to the UI, including a new right-click context menu. The new context menu shows only a few options. And, to access the traditional right-click menu, you have to click on “show more options”. Or, you can press the Shift + F10 shortcut key. Initially, the refresh option was missing in the context menu. Which was later restored in Windows update. But still, many essential options are missing.
Like, when you install 7Zip software, it doesn’t appear in right-click menu. Yes, Microsoft offers an “Extract All” option to extract folders. But, it can only extract zip file format, not all. To extract and compress all kinds of files and formats, you have to install third-party tools like WinRAR or 7Zip. Well, now the question arises, can you get WinRAR and 7-Zip in the context menu? Let’s find out!
Get WinRAR and 7-Zip on Windows 11 Context Menu.
If you’re a WinRAR user, then the good news is, you can now add WinRAR in Windows 11 right-click menu. WinRAR now officially offers some integrations options for the new Windows 11. So that, you can quickly access the app from right-click like Windows 10.
Although, If you’re a 7Zip user, then things are not simple for you. Because, till now, 7Zip doesn’t offer such an option. But, there is an open-source software called NanaZip available. Which is a fork of the 7-Zip’s code. And, NanaZip comes with context menu support. So, you can use NanaZip to compress and extract files in Windows 11. Ok, so here is how you can get WinRAR and NanaZip (7Zip Alternative) into Windows 11 Context Menu.
NanaZip (Modern Version of 7Zip.)
NanaZip is a 7-Zip derivative, developed for the modern Windows experience. Yes, as of now, it is in the early development stage. But since it is forked from a well-known open-source file archiver 7-Zip, so it will work flawlessly. It does support Brotli, Fast-LZMA2, Lizard, LZ4, LZ5 and Zstandard codecs. Mainly, it does support the context menu in Windows 10/11 File Explorer. Which is all we need.
Add 7-Zip on Windows 11 Context Menu using NanaZip.
There are two ways to install NanaZip on Windows 11 PC. Either you can install it from Microsoft Store, or you can get the latest version from GitHub.
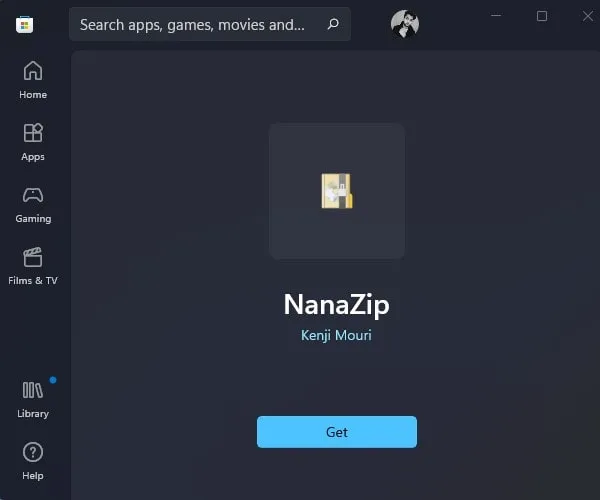
- Open the following link to install NanaZip from Microsoft Store. Once link get open, Click on Get. And, NanaZip will get installed on your Windows 11 PC.
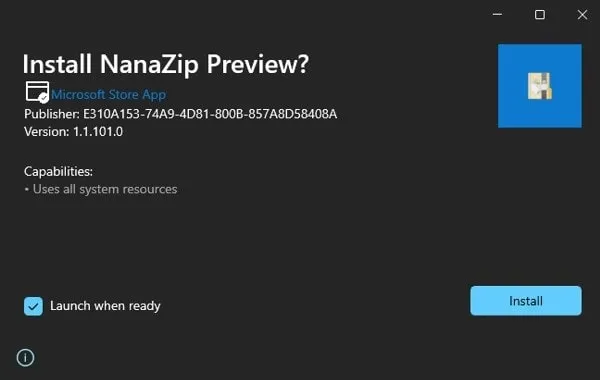
Alternatively, you can download the NanaZip MsixBundle file from Github. And, install it by running the setup file.
- Once NanaZip gets installed, open the Settings App by pressing Windows + I keyboard shortcut. (You can also check out Windows 11 Keyboard Shortcuts List.)
- Click on Apps > Default Apps.

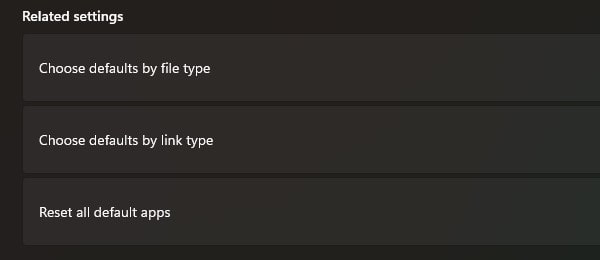
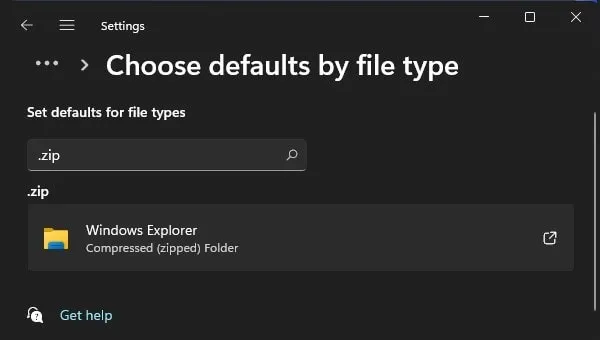
- Scroll down to the default apps page, and at the bottom, you will find the “Choose defaults by file type” option in related settings. Do click on it.
- Search for “.Zip” and you will see Windows Explorer is set for the compressed (zipped) folder.
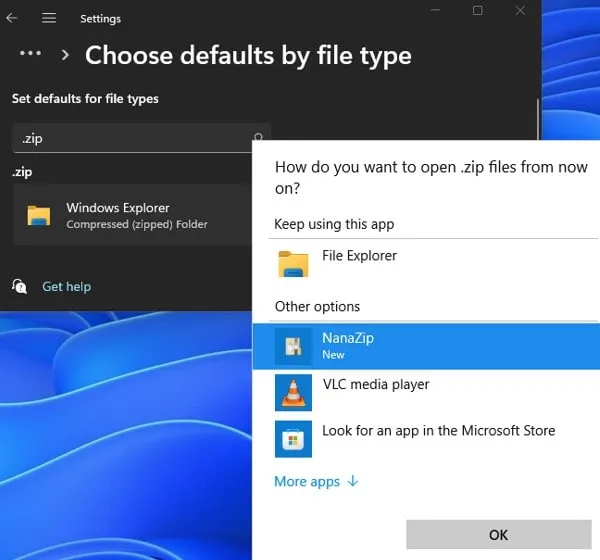
- Click on it, and select NanaZip from the app list, and click on ok.
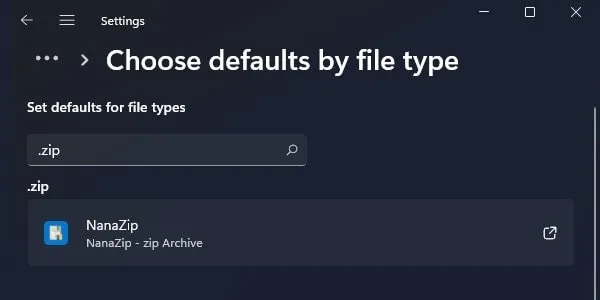
- NanaZip will be set as a default app for Zip files.
- Now, Do right-click on any Zip file you have. And, you will see NanaZip in the context menu.
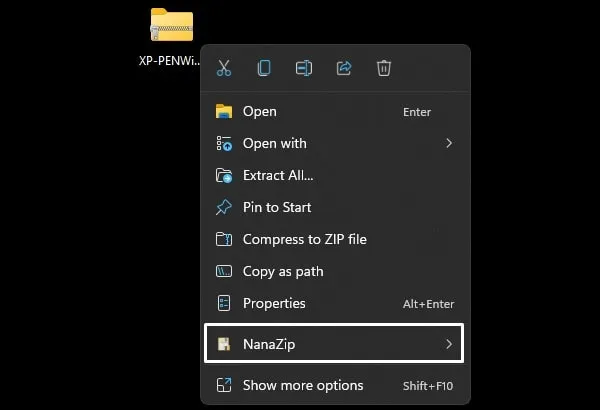
Take mouse pointer over NanaZip and you will find all 7Zip options that you like to use.
Add WinRAR on Windows 11 Context Menu
To Get WinRAR option in Windows 11 Context Menu or Right-Click Menu. You have to install the beta version of WinRAR. Because it comes with the “Legacy Context menu” option. With that option, you can get WinRAR in right-click menu of Windows 11.
- First, download the latest version WinRAR setup file. (Do check your system type before downloading the WinRAR version. Open Windows 11 Settings App > scroll down and click on About.)
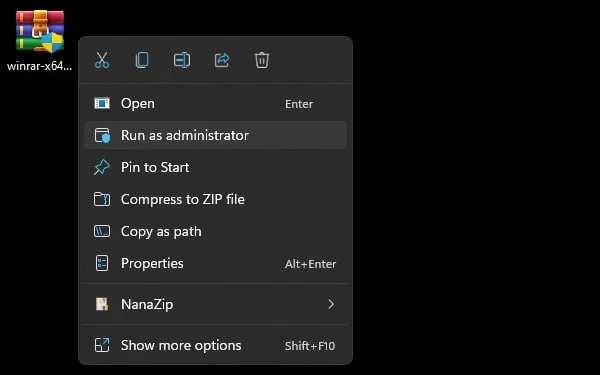
- Now, do right-click on the setup file and then click on “Run as administrator”.
- WinRAR setup window will now appear, click on install.

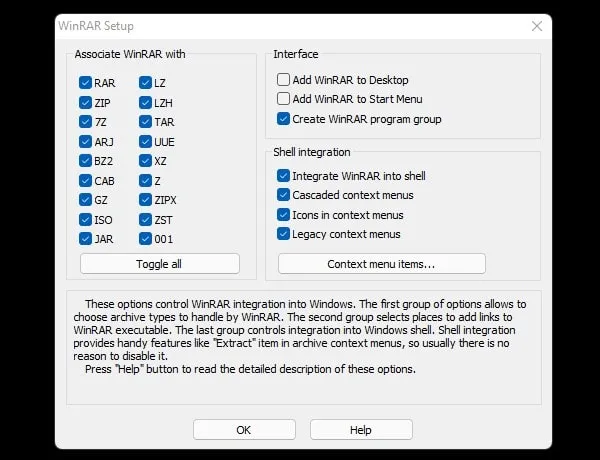
- Next, the WinRAR setup window will appear. In the shell integration section, you will find the “Legacy Context Menus” option. Enable it, and click on OK.
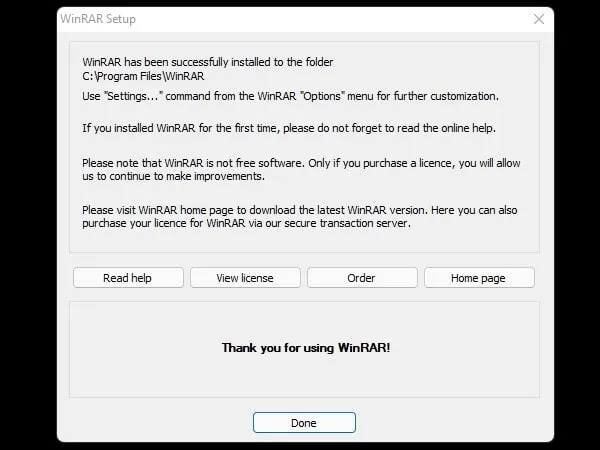
- That’s it, WinRAR will now get installed, click on Done.
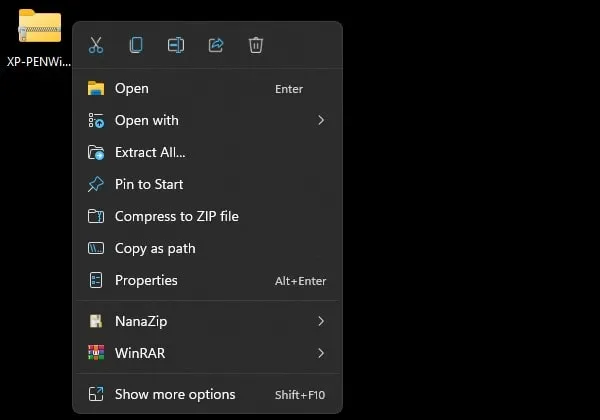
- Now, right-click on any zip file and you will see the WinRAR option in the context menu.
Ok, so that’s how you can add 7Zip and WinRAR in Windows 11 context menu. You can use NanaZip instead of 7Zip. Or, you can download the beta version of WinRAR.