Recently, OpenAI has released GPT-4, which is the most advanced system. It surpassed ChatGPT in its advanced reasoning capabilities. Although, GPT 4 is available for ChatGPT Plus users only. However, Bing Chat users can access the early version of the GPT-4 for free. But, it doesn’t mean that ChatGPT is not that good. With GPT 3.5 Turbo and OpenAI API, you can create many Apps. Yes, you can even build your own customized Free AI Chatbot using OpenAI API in Python.
As you know, Python is a beginner-friendly programming language. And, with just a few lines of code, you can develop some good applications in Python. No worries, even if you don’t know to code at all. Because I will provide all the required code in this article. And, you will able to customize your AI Chatbot, if you know basic Python.
We are using the Gradio interface for this AI Chatbot. So that, you will able to generate a public link to share with your friends. Here’s how to create a Free AI ChatBot using ChatGPT in Python.
Contents
- 1 Create an AI ChatBot using OpenAI API in Python
- 1.1 Step 1: Install Python on your Computer
- 1.2 Step 2: Install Visual Studio Code
- 1.3 Step 3: Install Python Extension and Create a Python File
- 1.4 Step 4: Install OpenAI and Gradio Libraries on Python
- 1.5 Step 5: Copy and Paste the AI Chatbot Code
- 1.6 Step 6: Create a new OpenAI API Key
- 1.7 Step 7: Run AI ChatBot Python Program
Create an AI ChatBot using OpenAI API in Python
Step 1: Install Python on your Computer
- First, do download the latest version of Python on your Computer. Since, Python is available for Windows, macOS, and Linux. So, you can create your AI Chatbot on any platform.
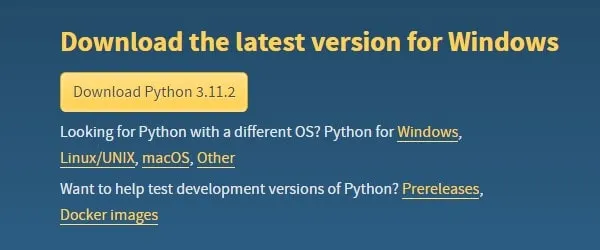
- Once, the Python setup file gets downloaded, do run the setup file.
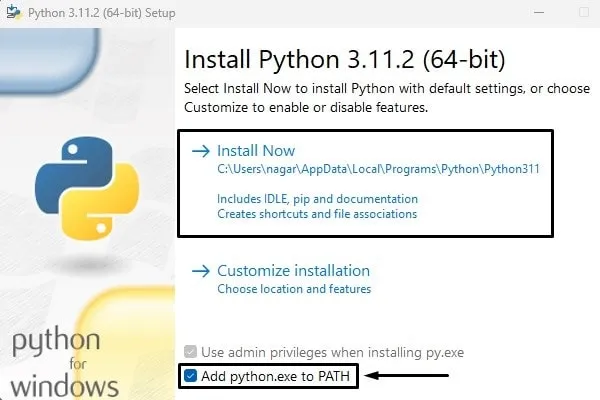
- Python Setup window will get open. Do select the “Add python.exe to PATH” option. And, click on Install Now.
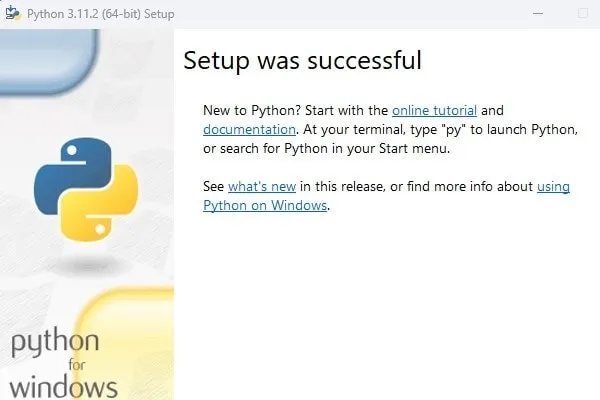
- Python will now start installing on your Computer. Once, the installation gets completed, you will see the “Setup was successful” message. Click on Close.
Step 2: Install Visual Studio Code
There are so many IDE available for Python. But, VS Code is the best source-code editor developed by Microsoft. It allows you to install so many useful extensions. Like, languages, debuggers, and tools. The best part is now you can add ChatGPT Extension to Visual Studio Code.
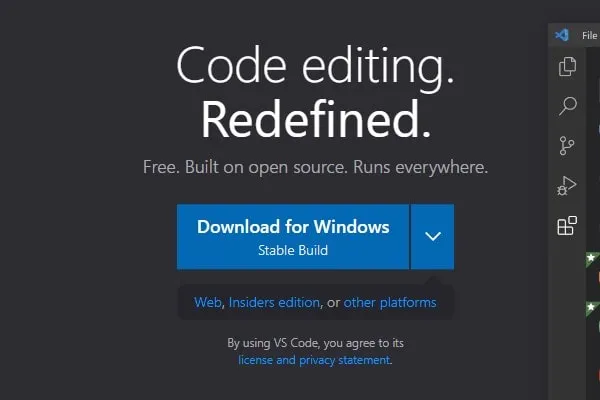
- First, do download the latest stable build of Visual Studio Code, it’s free.
- Run VS Code Setup file. The visual Studio Code Setup window will get open.
- Accept the license agreement and select the destination folder.
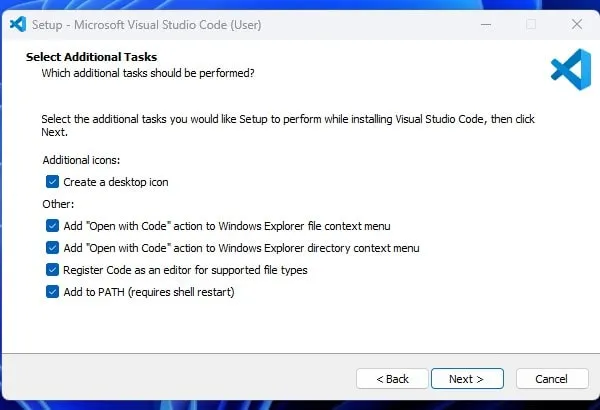
- On the select additional tasks window, make sure the “Add to PATH” option is enabled. Click on Next > Install.
- The installation process will get started. Once, VS Code gets installed, do open it.
Step 3: Install Python Extension and Create a Python File
- Once, VS Code gets open, from the left pane, click on the Extensions icon. (Or, you can press Ctrl + Shift + X option)
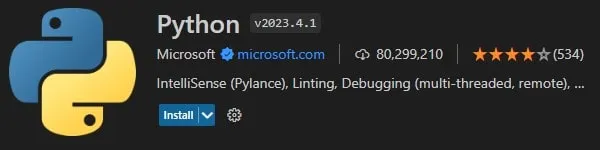
- Search for Python Extension. Click on the Extension name from the search results.
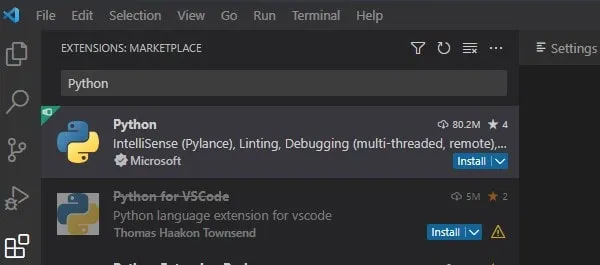
- After that, click on Install.
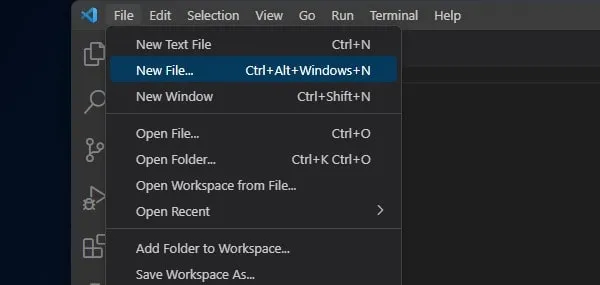
- Once, the Python extension gets installed, click on File > New File.
- A popup window will appear, at the upper-middle of the VS Code window. Click on Python File.
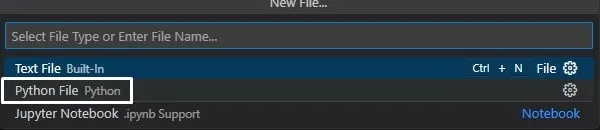
- That’s it, you have created a new Python Code file. Which we are going to use to develop our AI Chatbot application.
Step 4: Install OpenAI and Gradio Libraries on Python
Since we are using GPT 3.5 Turbo to power our AI Chatbot. And, Gradio to demo the AI Chatbot web interface. That’s why first we have to install these two libraries in Python.
- In VS Code, click on Terminal > New Terminal.
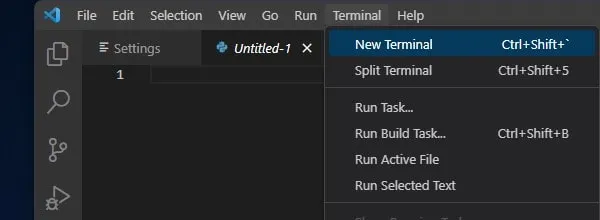
- A terminal window will get open at the bottom of VS Code. Yes, you can use Windows 11 Terminal as well.
- In VS Code Terminal, type the following command to check whether Python is properly installed or not. The following command displays the Python version. If
pythondoesn’t work then typepython3instead python.
python --version- After checking the Python version. Now, we have to make sure the pip is updated. PIP is basically a package manager for Python programming language.
python -m pip install -U pipImportant: If the pip command doesn’t work, type pip3 or python3.
- After upgrading PIP, type the following command to install OpenAI libraries.
pip install openai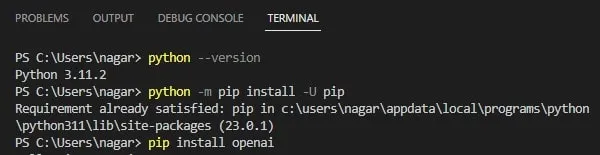
- Next, we are going to install Gradio libraries, so that we can create an interface for our web app.
pip install gradio
That’s it, now we just need AI Chatbot code and OpenAI API to create AI Chatbot.
Step 5: Copy and Paste the AI Chatbot Code
To create AI Chatbot, we are using chatgpt-api-python by armrrs from GitHub. We have implemented Gradio in the code to create a friendly web interface.
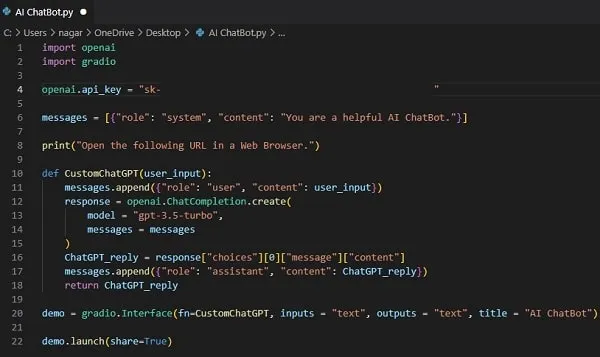
- Simply do copy and paste the following code into the Python file. That you’ve created in VS Code. With these lines of code, you will able to Create a Free AI ChatBot using ChatGPT in Python.
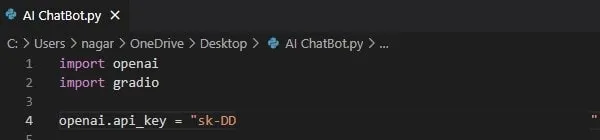
import openai
import gradio

openai.api_key = "Enter your OpenAI API Key"

messages = [{"role": "system", "content": "You are a helpful AI ChatBot."}]

print("Open the following URL in a Web Browser.")

def CustomChatGPT(user_input):
    messages.append({"role": "user", "content": user_input})
    response = openai.ChatCompletion.create(
        model = "gpt-3.5-turbo",
        messages = messages
    )
    ChatGPT_reply = response["choices"][0]["message"]["content"]
    messages.append({"role": "assistant", "content": ChatGPT_reply})
    return ChatGPT_reply

demo = gradio.Interface(fn=CustomChatGPT, inputs = "text", outputs = "text", title = "AI ChatBot by GeekBullet")

demo.launch(share=True)
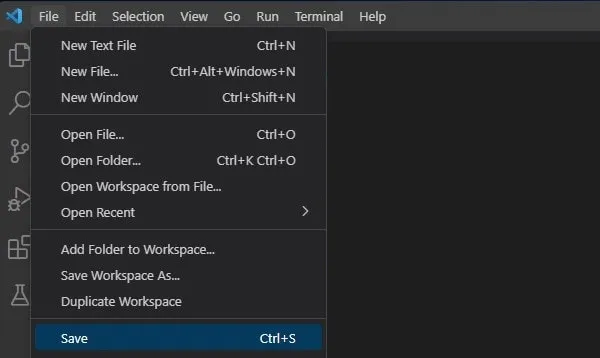
- Click on File > Save.
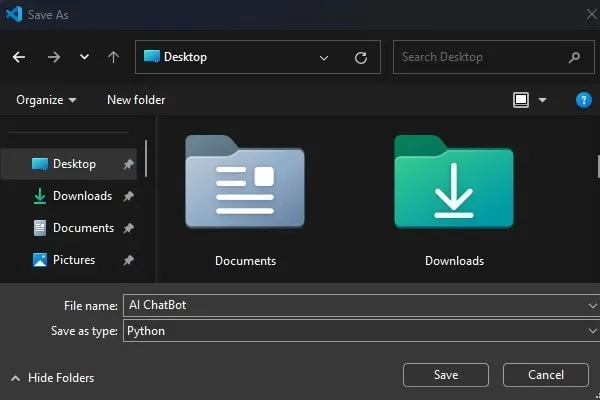
- The “Save as” Window will appear. Select desktop, and do type AI ChatBot in the file name, and click on Save.
- Now before you run your AI ChatBot, you have to enter your API Key. So, let’s create an API Key.
Step 6: Create a new OpenAI API Key
If you’re unaware, Application Programming Interface is known as API. It allows the communication of two applications to each other. And, to use GPT in your AI Chatbot, you need to generate an OpenAI API Key.
- Open the following URL in your web browser.
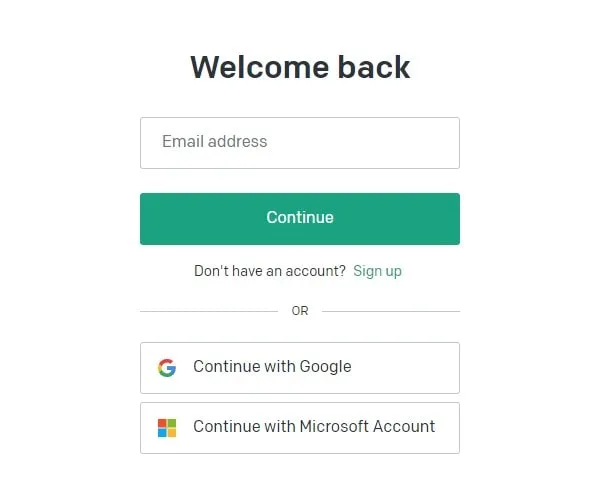
https://platform.openai.com/- After that, signup and login using your Google Account.
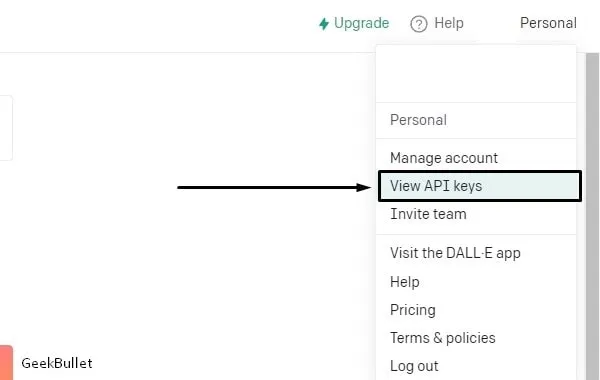
- Once logged in, click on Personal > View API Keys.
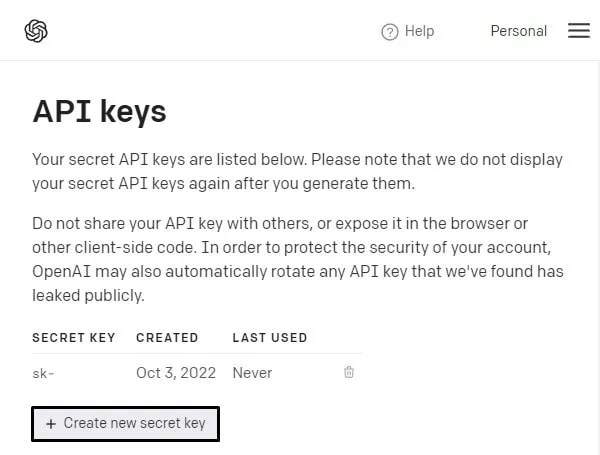
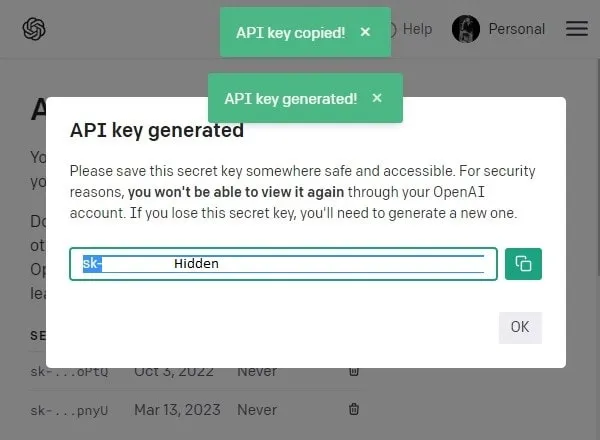
- Click on “Create New Secret Key”. That’s it, OpenAI will generate a new API Key for you.
- Do copy the API Key.
- Now, in VS Code, Python file, replace it with the (Enter your OpenAI API Key) text.
Step 7: Run AI ChatBot Python Program
- On the upper right corner of the VS Code, you will find the “Run Python File” icon, click on it to run.
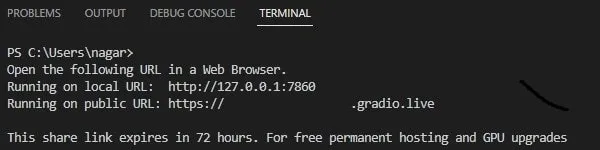
- Now, in the Python Terminal window, you will get a local URL and a Share URL.
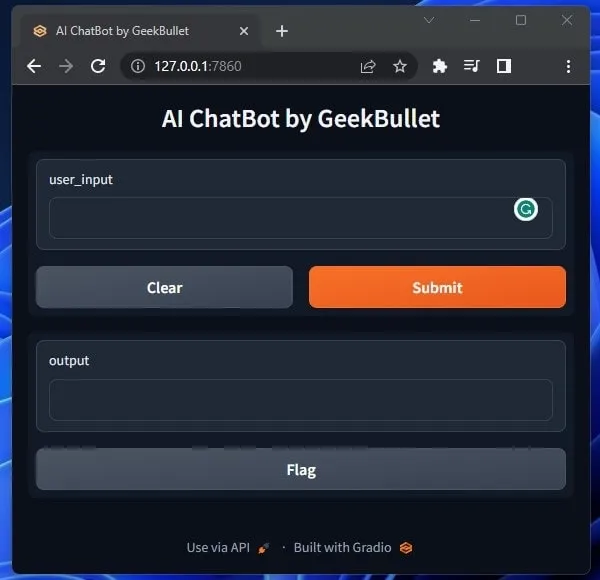
- Copy the Local URL and open it in any browser.
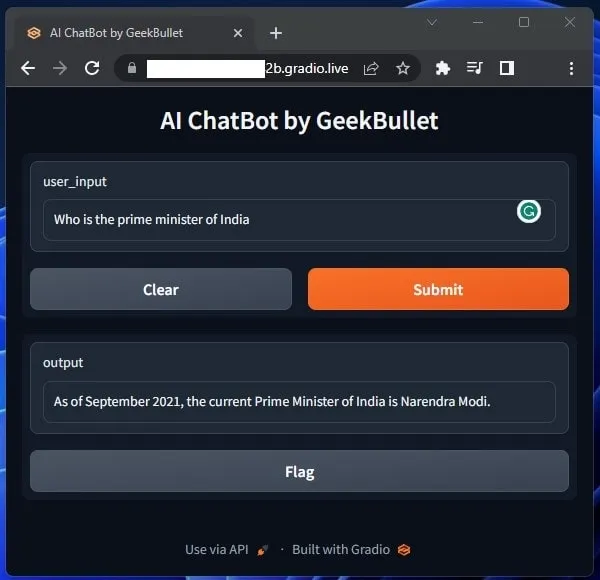
- Your AI Chatbot will get open. You can now ask any questions about it.
- If you want to share this AI ChatBot with friends, then you can use the Public URL.
Fix: Could not create share link. Please check your internet connection.

This error occurs when Windows Security App blocks Gradio apps. You can easily fix it by allowing it from Windows Security.

- Open Window Security App.
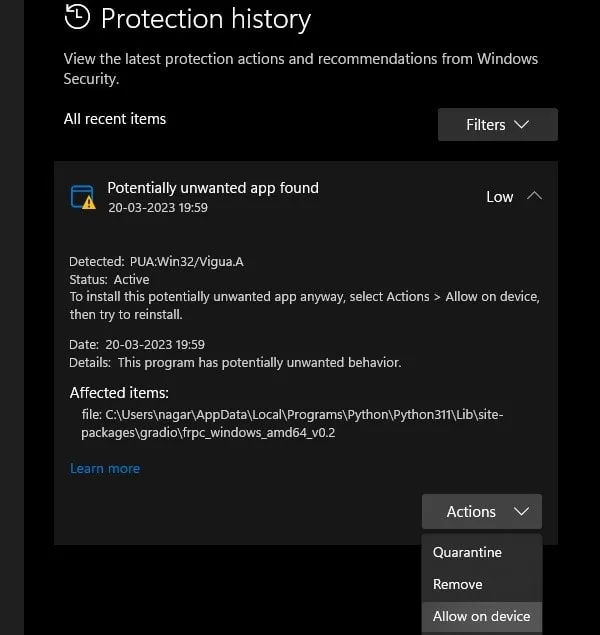
- From the left pane, click on protection history.
- You will now see “Potentially unwanted app found”. Click on it.
- Click on Actions > Allow on Device.
- That’s it, now remove the old Terminal in VS Code. And, run the Python AI Chatbot program again. That’s it, this time you will get the public URL of the Gradio App.
Okay, so that’s how you can Create a Free AI ChatBot using ChatGPT in Python. If you are facing any issues while creating this AI Chatbot, then leave a comment.