
If you’re looking for a way to truly and completely hide your iPhone photos. Then, this article will assist you in doing so.
A while ago, Apple introduced the concept of hidden albums to the iPad and iPhone. You can now hide photos on your iPhone. And, hidden photos will move into the hidden folder. Also, you can hide the Hidden folder, by going into Settings of Photos app. Prior to the hidden folder feature, all photos could be seen in the library or Recents section. In addition, there was no way to keep some photos privately in a separate album. So you had to rely on some third-party apps that used to act as vaults. Which was not a reliable option.
Yes, Apple’s official way to hide pictures on iPhone is still a good option for many. But, it is easily accessible. Because you cannot password protect photos app on iPhone. Even, there isn’t any way to lock the settings app. So, anyone who knows about iOS can turn on the hidden folder from settings. And, can access all your hidden photos easily.
But, If you truly want to hide some photos. Then, you can do that by using the edit feature of the Photos app. Ok, so without further delay, let’s get started.

Hide Photos on iPhone.
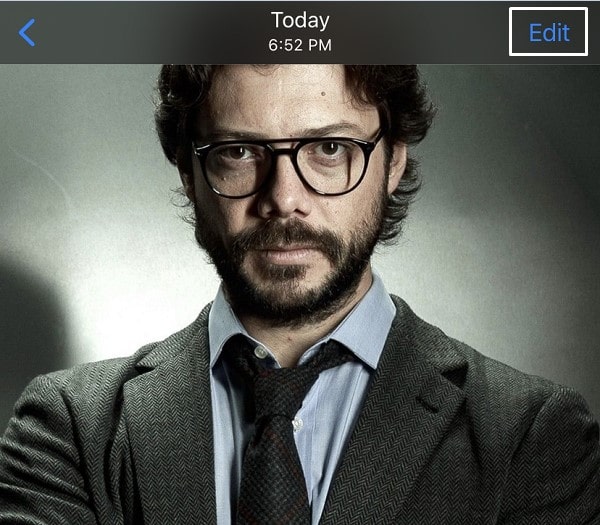
- Open Photos App, and do open the photo that you want to hide.
- From the top right corner tap on Edit.
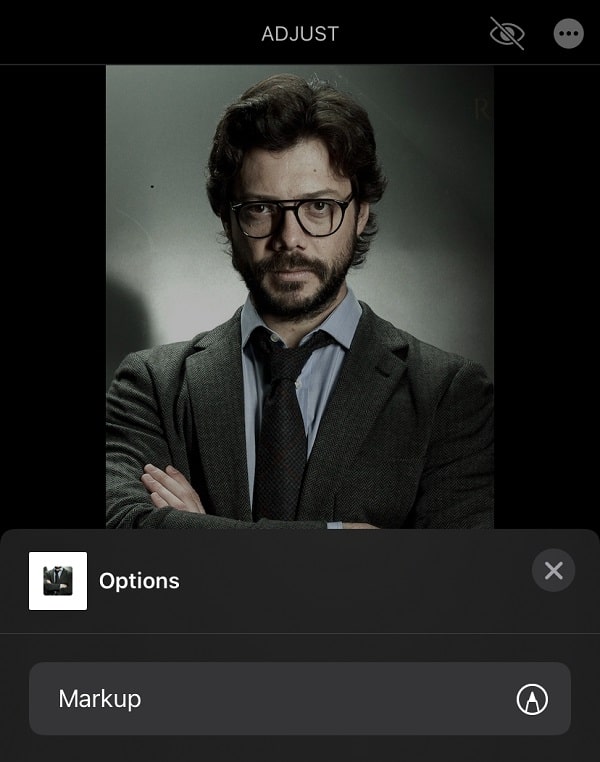
- Editing tools will now get open. Now, from the top right corner of the screen, tap on “…”. And, after that tap on the Markup option.
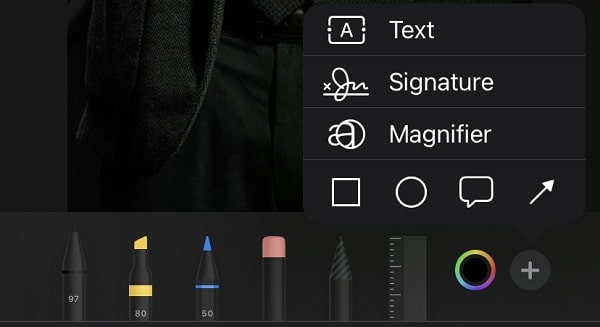
- Markup screen will now appear, tap on the “+” icon. An overlay menu will now appear, and you will now see some shapes, select the Square-shape.
- Now, you have to change the square type, tap the icon(circle-square) from the bottom left of the editing toolbar. Select Filled Square from it.
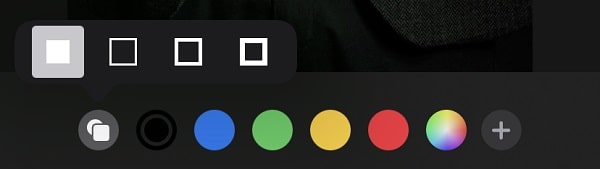
- Now, use blue dots shown at the corner of the square shape. And, cover photos completely with the black squares.
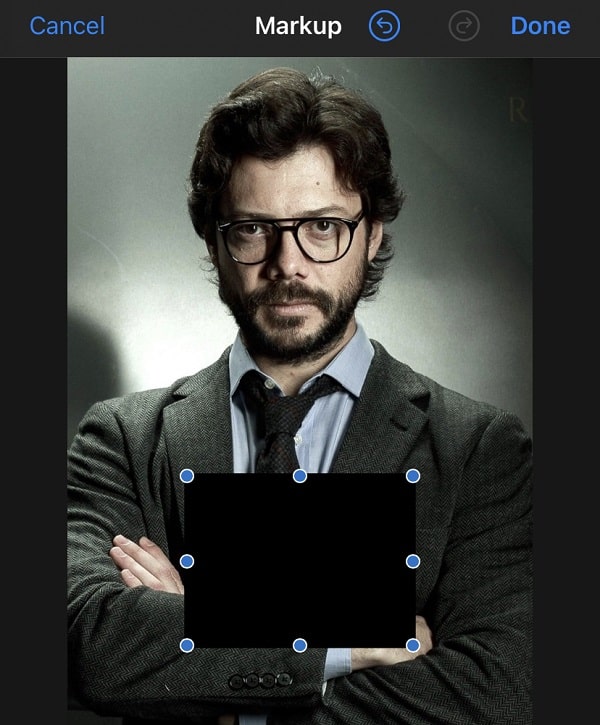
- If you want you can change the color of the square, else just tap on Done.
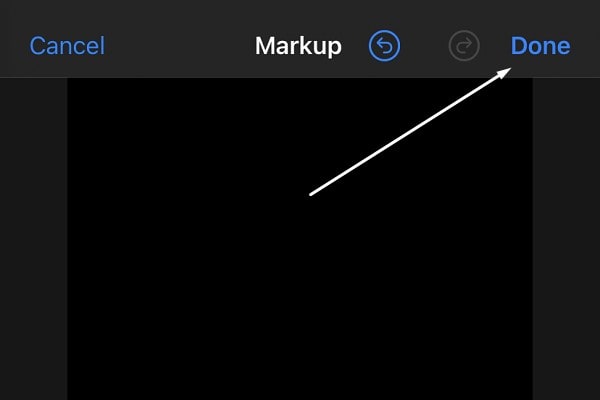
- You will now get back to the editing screen tap on done from the bottom right corner.
- That’s it, your picture is now turned into black wallpaper. That’s how you can completely hide pictures in iPhone.
How to unhide Picture?.
Photos App in iOS offers an option to revert a photo to its original state. This means, edited photos can be revert back to the original photo.
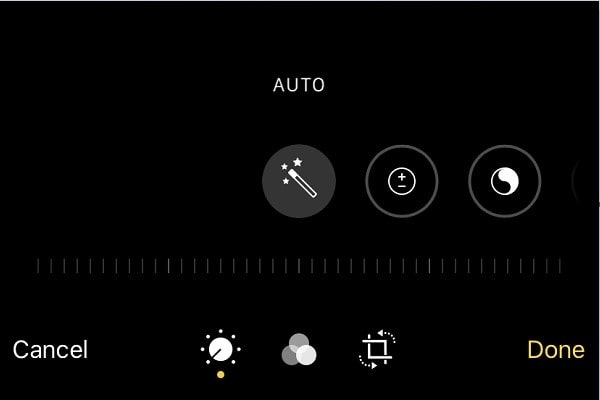
- Open the hidden photo and tap on the Edit option.
- In the bottom left corner you will see the Revert option. Tap on it.
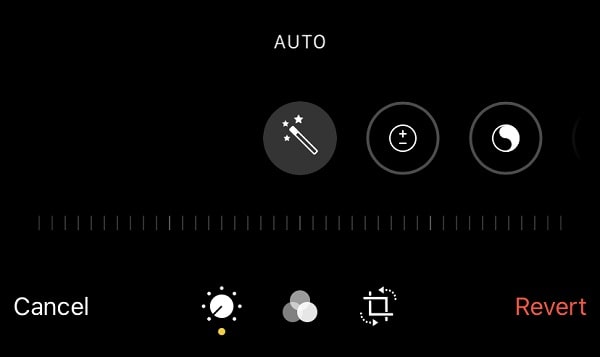
- After that, tap on “Revert to Original”.
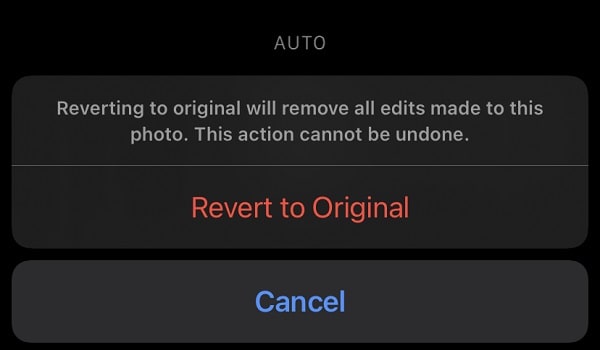
- And, your original photo will now get back again.
Yes, it seems a very lengthy process. But, still, it is a great method to hide your most sensitive photos on the iPhone. Make sure you don’t delete the photo by thinking of it is just a black image. Though once you revert the photo back to the original you have to go through the same process again. You can also upload photos on a cloud drive and delete them from your device. Make sure to use trusted cloud storage options.