Want to Install Rectify11 on your old laptop/PC without TPM and Secure Boot?. This article will help you to do so.
Undoubtedly, with Android app support Microsoft did huge improvements to Windows 11. But, we also cannot deny that Windows 11 tries to look modern but still, it is a half-baked OS. Because Windows 11 still doesn’t support dark modes completely. And, there are many apps that still remind us of old Windows. Microsoft is slowly trying to replace old apps through the Windows beta version. Like, recently we got to see new notepad and task manager apps. But, still, apps like the control panel still use light mode. Well, to fix these things, a group of developers created a modded version of Windows 11, known as Rectify11.
Yes, there are already so many modded versions of Windows 11 available like GhostSpectre Windows 11 Superlite, and Nexus LiteOS 11. And, even Microsoft is planning to release a lite version of Windows 11 for older computers. So, the question arises, of how Rectify11 is different from all these modded Windows 11 OS. Well, in this article, you will get to know about all Rectify11 features. And, how it is different from Official Windows 11. Moreover, you will find a guide to Install Rectify11 on your old laptop/PC.
Contents
What is Rectify11?
Rectify11 is basically a modified version of the latest Windows 11. It is redesigned by a developer named MikeRosoft6009, to fix inconsistencies in the latest Windows. When you go through the Rectify11 installation, you will see a completely redesigned fluent Windows setup. And, after installation, OS gets booted after a single restart. This means you don’t have to go through an unnecessary setup process. Just to be clear, Rectify11 isn’t affiliated with Microsoft in any way. It just fixes things that Windows users are asking Microsoft to fix.
Rectify11 Features.
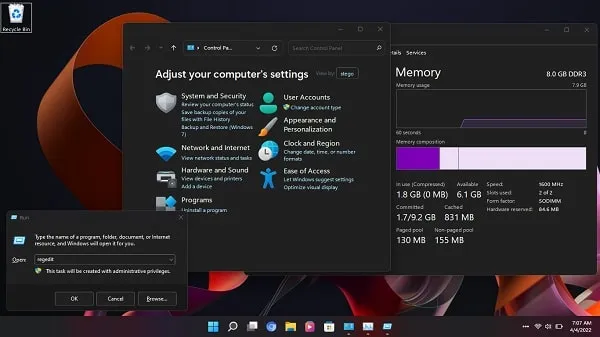
Consistent Dark Mode – Rectify11 OS comes with a consistent dark mode. Old dialogue boxes, Run Window, and popup windows, everything will be in dark mode. For instance, in Windows 11 when we copy/paste a big file, the process window appears in light mode. But, in Rectify11 it will be in dark mode.
Apps like Control Panel, Device Manager, Disk Management, Registry Editor, Group Policy Editor, Control Panel, Task Manager, and many other apps do support dark mode, except Paint App.
Actually, OS comes with UltraUXThemePatcher, and because of that, this dark mode is possible.
Chromium Browser and MSEdge Redirect – In Rectify11, the developer has removed Microsoft Edge Browser. And, instead of it, it comes with Chromium Browser. And, with the help of MSEdge Redirect, they made it the default browser.
The Microsoft Store does work in Rectify11, even without a Microsoft account.
ExplorerPatcher – This allows you to choose between Windows 11 or Windows 10 Taskbar. Also, you can disable the Windows 11 context menu or right-click the menu. There are many other features that ExplorerPatcher offers. You can get all details from GitHub.
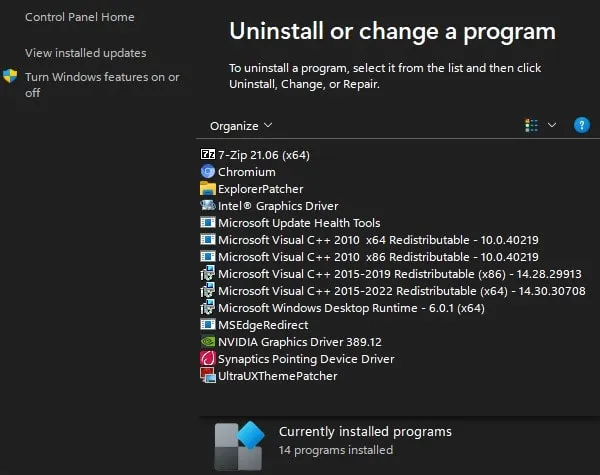
7-Zip – As you already know, 7-Zip is a free and open-source app to extract files. And, this app comes pre-installed.
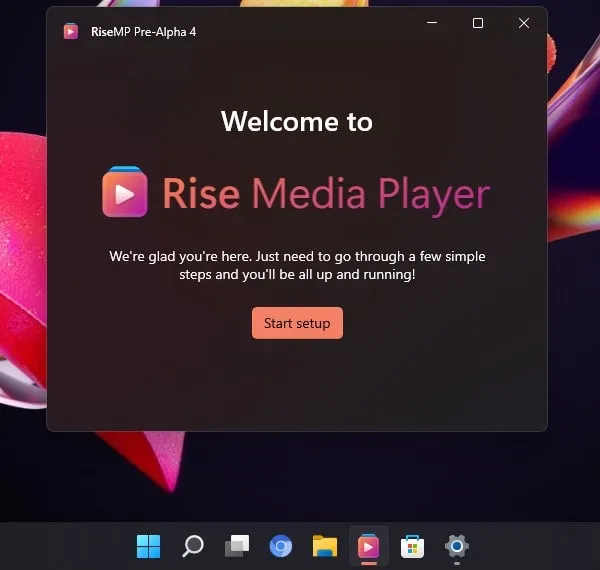
Rise Media Player comes pre-installed in Rectify11. And, you won’t find all other Windows 11 native media player apps.
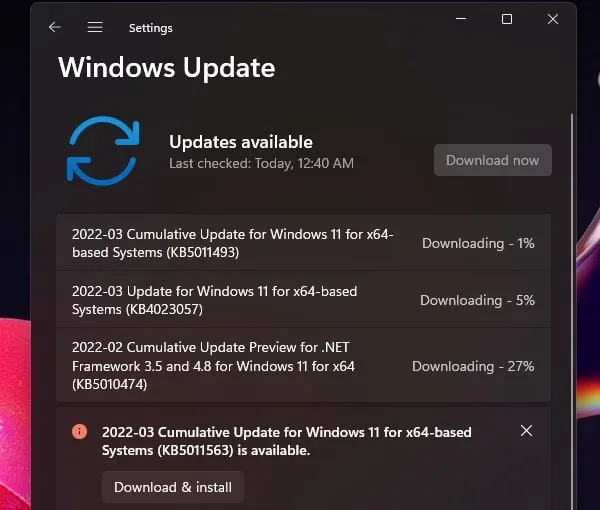
Windows 11 Updates – Yes, you will get Official Windows 11 Updates with Rectify11. You will get cumulative updates, but developers don’t recommend to install it. You can install security and quality updates.
Also, you will find many other UI changes like new icons and fonts in File Explorer dialogs, system properties, and action boxes. Also, some new wallpapers have also been added.
How to Install Rectify11 on an Old laptop/PC
Important: I have installed Rectify 11 on my old laptop to test it. And, during installation, I completely formatted my SSD to perform a clean installation. So, if you have a laptop with important data in it. Then, you can either create a partition using disk management. And, install Rectify 11 on that partition. That way you will be able to dual boot Rectify 11 with your current Windows OS. I don’t recommend anyone to install Rectify11 on their primary machine. Only, if you have any old laptop or PC lying around, then you can try it out.
Prerequisites.
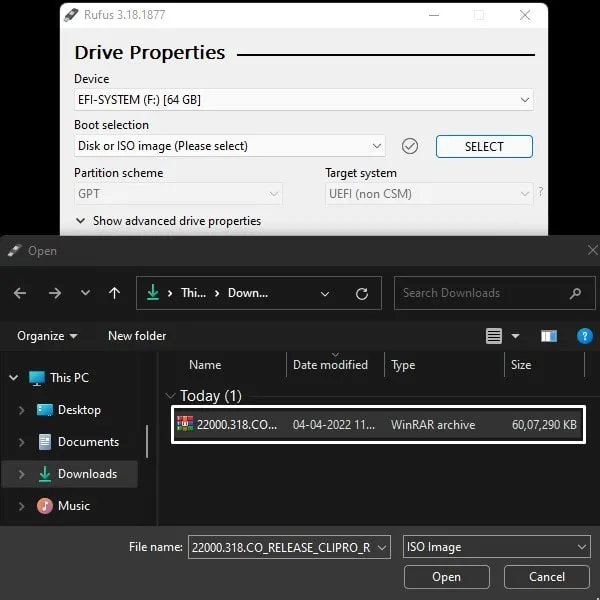
- Download ISO File – First, visit the official website of Rectify11 to download the ISO File. You will get Google Drive links to download. The ISO file size is around 5.72 GB.
- Download Rufus – To create a bootable USB drive, you need to download the Rufus tool. It is free.
- Minimum 16 GB of USB Drive.
Create a Bootable USB Drive of Rectify11
- First, plug in your USB Drive to your Computer. Just make sure there isn’t any important data in it.
- Open the Rufus tool by running it as an administrator.
- Once it gets open, make sure your USB Drive is selected in the device section.
- After that, click on select and do select ISO File that you have downloaded.
- Next, in the image option, you will get three options. If your PC doesn’t come with TPM and Secure Boot, then you can select the “Extended Windows 11 Installation (no TPM/no Secure Boot)” option. This option will remove Windows 11 Installation Restrictions. Else, you can go with a standard installation, if your PC does support that.
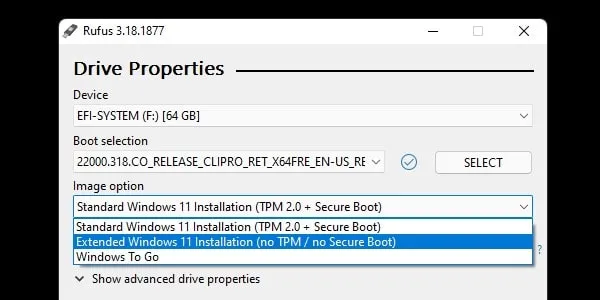
Note: If you’re not able to install official Windows 11 due to TPM and Secure Boot. Then, you can read my article “Upgrade Windows 10 to Windows 11 on an Unsupported PC Without TPM“.
- After that, make sure GPT and UEFI are selected. Now, give the volume a label. You can type any name you want, better type OS name.
- That’s it. Click on start. Data erase warning will appear, click on OK.
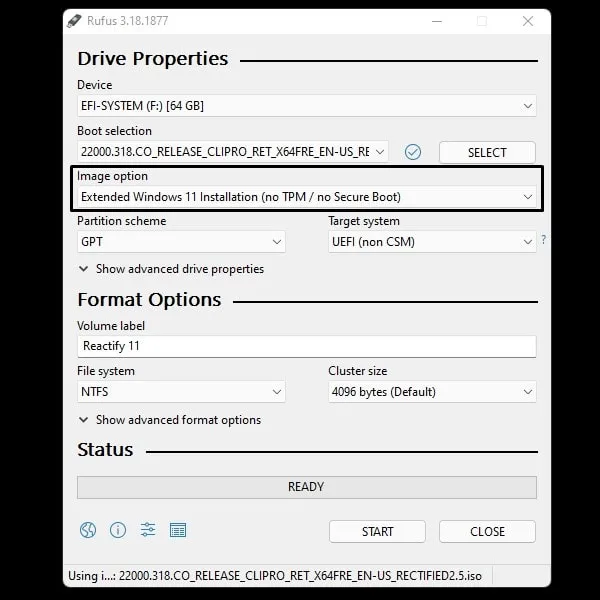
- Now, wait for the writing process to get complete until you see Ready in Status. After that, you can close Rufus.
That’s it, the bootable USB drive is now ready, it’s time to boot through it. But, before you boot make sure your PC’s secure boot is disabled if you have chosen the “Extended Windows 11 Installation” option. Else, you will face so many errors.
On another side, if you have selected “standard installation” then you have to make sure TPM and Secure Boot are enabled. Else, you will get errors like “This PC can’t run Windows 11“.
Install Rectify11/Modified Windows 11
- Plug the Bootable USB Drive into an old computer and start it. Keep hitting the boot key before the PC/laptop does start. In case you don’t know your computer’s boot key, then you can look it up on the Internet.
In my case, I am using an HP laptop. Pressing the ESC key allows me to pause startup. After that, I can open boot device options by pressing the F9 Key.
- Once the boot select window appears, do select the USB drive. Some manufacturers may require you to change the boot order first in the BIOS.
- Rectify11 Setup window will now appear. Basically, it is Windows 11 setup but redesigned completely. Click on next.
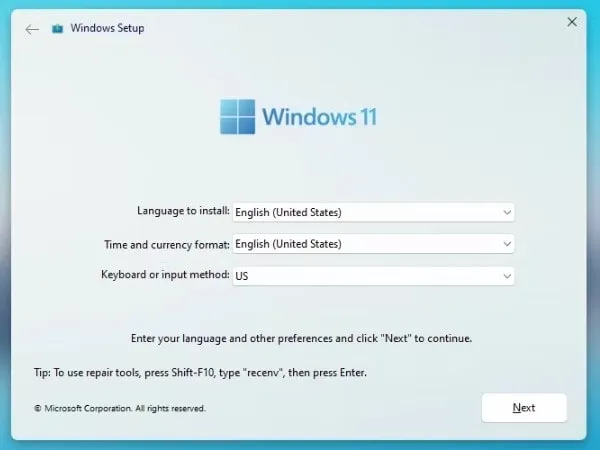
- After that, click on “I don’t have a product key”. No worries, you can later activate it if you want.
- Now, select the “Install Windows Only” option.

- Next, it will ask you to choose your preferred drive to install Rectify11. Do select that drive and click on Next.
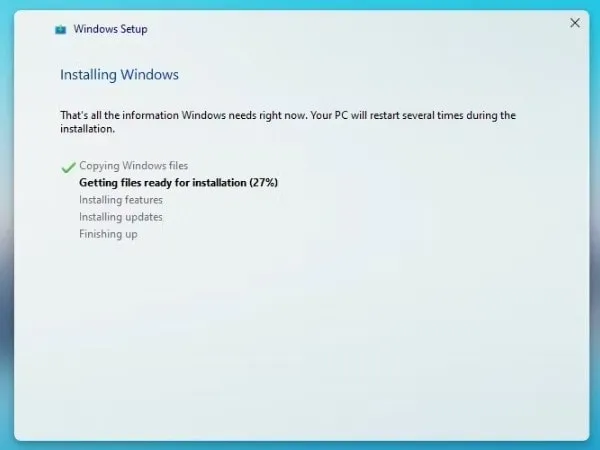
- That’s it, Rectify11 or a modified Windows 11 installation will get started. Once it gets completed, the setup will ask you to restart the computer.
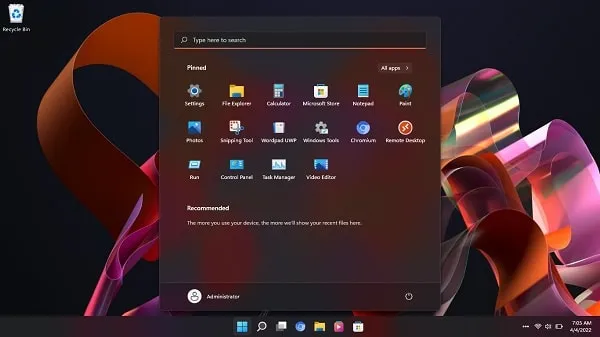
- Once it restarts, Rectify11 will get started directly. You can use it without Microsoft or a Local Account. After Rectify11 installation, you can also set Live Wallpaper on Windows 11.
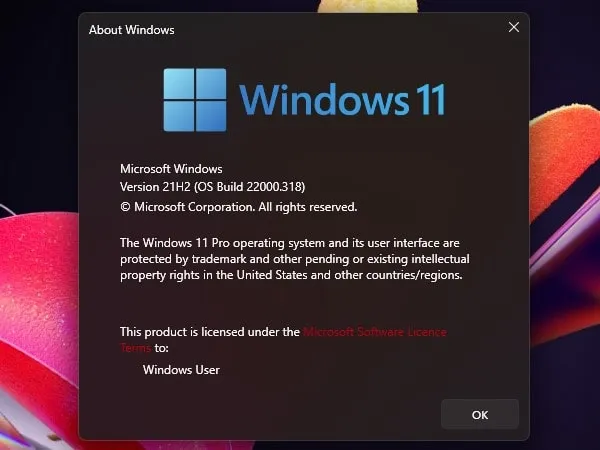
Rectify11 Windows 11 Version.
Rectify11 is based on Windows 11 Pro version 21H2.
How to Fix Installation Cancel Error/Restart Installation.
If you see an error right after selecting the drive. Then, click on OK. And, a command prompt window will appear. You can use it to open the diskpart utility and clean the drive that you’re selecting to Install Rectify11. Also, convert the drive into GPT. But, it will wipe out the disk completely. So do it at your own risk. Here are the commands. You can run these commands one by one. Just make sure to select the correct disk.
diskpart
list disk
select disk 0 (Do select the disk that you want to clean. Here 0 is my SSD Disk Number.)
clean
convert gpt
exit
exit
After running these commands. You can boot once again from USB Drive and select that unallocated disk. And, hopefully, this time, not any error will not occur.