
By default, after installing Windows 11, you get three options in Power Menu – Sleep, Shut Down, and Restart. In addition, you can enable hibernate power option. Hibernate is quite similar to the Sleep option, but it saves more power. And keeps your apps open in the background, and unsaved files safe.
What is Sleep Mode?
Usually, while working with multiple files and applications, when we have to stay away from the computer. Then, we use the sleep option. Which partially turns off the computer to save battery (if using a Laptop). And, we can wake our computer from sleep mode, by just moving the mouse or pressing any keyboard key. After waking up from sleep mode, we can quickly get back to work from where we put the PC into sleep mode. Sleep mode works quite faster in comparison to Hibernate.
But if you want you can use Hibernate option instead of Sleep. If you’re not going to use the computer again for a few hours. Yes, Hibernate serves the same purpose, but it is not the same as Sleep Mode. By default, Hibernate option is hidden under Windows 10/11 settings. And, this article will help you to quickly get hibernate option in Power Menu.
Difference Between Sleep and Hibernate.
Yes, you might be curious to know the differences between these two. And, you might be also thinking about why should enable hibernate option when the sleep power option already exists.
The major difference between these two is – Sleep mode stores documents and files you’re working on in RAM. This process consumes a little power. And, Hibernate mode saves the information to your hard disk or Solid State Drive (SSD). So that, your computer can be turned off completely and it leads to no power use.
And, when you turn your computer back on from hibernate mode. Then, your hard drive or SSD allows you to resume work from where you left off.
Which Power Option is Better, Hibernate or Sleep?.
Hibernate power option is usually best for laptops. And, If you’re planning to not use your computer for a long period of time and want to keep your work up. Then, definitely, Hibernate is better than Sleep.

Though, if you’re not going to use your computer for a few minutes. Then, you don’t opt for Hibernate mode. You can use Sleep power mode to save some energy.
One more important thing, Hibernate mode takes time in comparison to Sleep. When you put the PC into Hibernate mode, you have to wait a few seconds. Because it saves information or data in SSD/HDD. So, when you boot the computer from Hibernate, it boots from the start.
Enable Hibernate Power Option in Windows 11.
You can enable Hibernate option from Control Panel. But, if Control Panel is not added to your Desktop Icons. Then, follow these steps first.
- Open Windows 11 Settings App (Press Windows + I).
- Go to Personalization > Themes.
- Click on Desktop Icon Settings.
- Select the Control Panel and other icons that you want on the desktop.
- Click on Apply and then Ok.
Steps to Enable Hibernate on Windows 11.
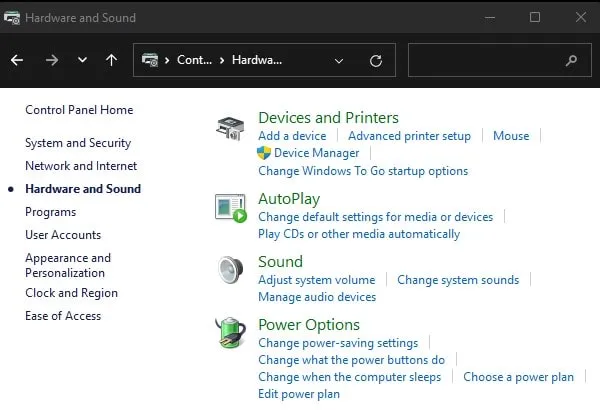
- To enable hibernate power option, open Control Panel.
- Click on Hardware and Sound > Power Options.
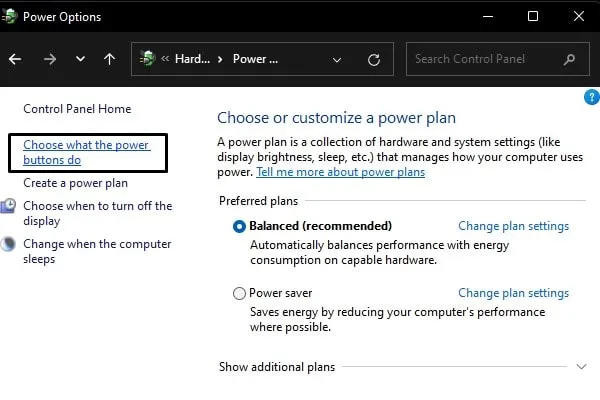
- Now, from the left side of the options, click on “Choose what the power buttons do”.
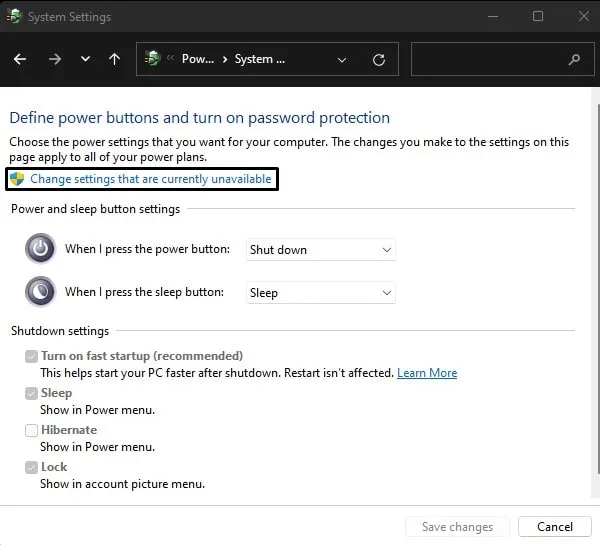
- You will now see Hibernate option. But, to enable it first click on “Change settings that are currently available”.
- After that, enable Hibernate option by clicking on it.
- Click on Save Changes.
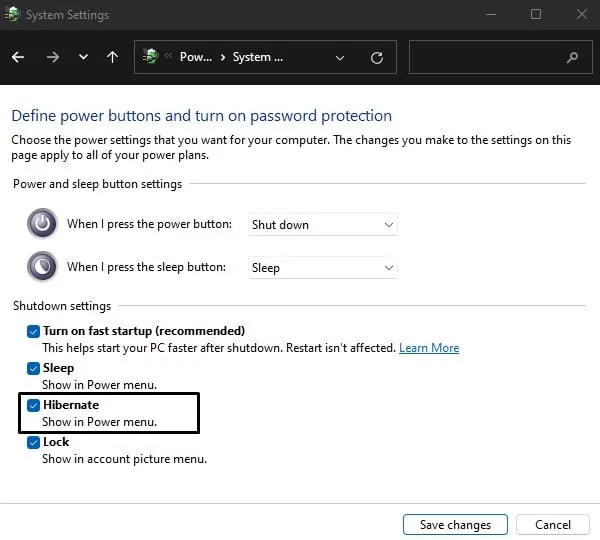
- That’s it, now Hibernate option is now enabled in Windows 10 or Windows 11 Power Options.
- Click on the Start button and then click on the power icon. You will now see Hibernate option along with Sleep, Shut Down, and Restart.
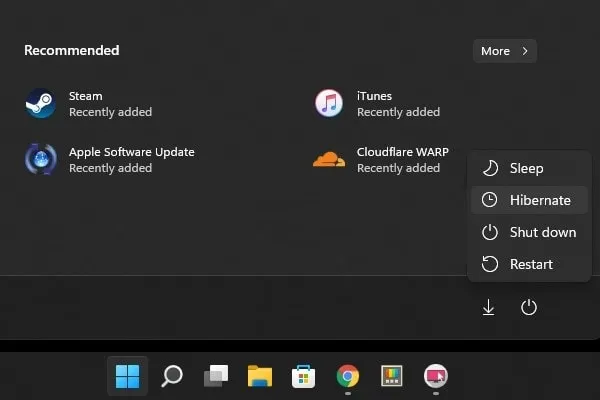
You can simply click on Hibernate option to put your Windows 11 PC/Laptop into Hibernate Mode.