Yes, Windows 11 is much better and more futuristic than Windows 10. But, Microsoft has disabled many useful features in the latest Windows. Like, wireless display and graphics tools feature are optional features. Similarly, the Delete File Confirmation Dialog option is now disabled by default. This means if you accidently delete a file it will get deleted permanently or will be moved into recycle bin. Delete File Confirmation Dialog helps to avoid accidentally deleting of file.
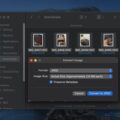
Recycle Bin in Windows takes 10% percent memory size of all your disk partitions. And, if the deleted file size exceeds that reserved limit, then the file gets permanently gets deleted. Or, if the file size is below that limit, then it gets moved to Recycle Bin by default. And, as you know, Recycle Bin gives the option to restore files. Alternatively, you can install Files App on Windows 11. And, from Files App settings, you can enable the delete file confirmation dialog with just one click.
What is Delete File Confirmation Dialog?
The ‘Delete File Confirmation Dialog’ is basically a simple dialog box that appears to ask whether you want to delete the file or not. This is useful to prevent accidentally deleting a file permanently. By default, this feature is turned off in the latest Windows. But, you can easily enable it. And, once you enable this feature, you will get dialog boxes when you try to delete a file.
If the File Size is larger than Recycle Bin capacity – Are you sure you want to permanently delete this file?
If the File Size is smaller than Recycle Bin capacity – Are you sure you want to move this file to the Recycle Bin?
There are three ways to enable the delete file confirmation dialog in Windows 11. You will get to know about all three in this article.
Contents
Enable Delete File Confirmation Dialog
Method 1: Enable from Recycle Bin.
- Right-Click on Recycle Bin Icon and after that, click on Properties.

- In Recycle bin properties window, you will see the “Display delete confirmation dialog” option.
- Click on it to Enable.
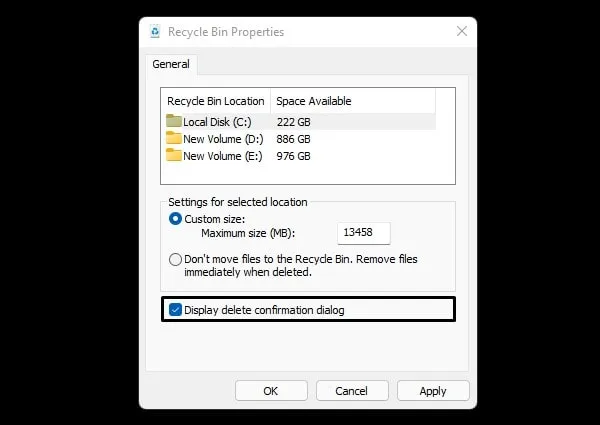
- After that, click on Apply and then click on ok.
- That’s it, now try to delete a file and a dialog box will appear. And, it will ask you if you’re sure about deleting that particular file.
If you want files to delete directly, then you can enable the “Don’t move files to Recycle Bin” option. But, I will not recommend you to enable it. Because you will not be able to recover accidently deleted files after this.
Method 2: Enable File Confirmation Dialog using GPE.
Group Policy Editor or GPE only comes with Windows 11 Pro and some other versions. It is not available for Windows 11 Home version. Yes, you can enable Group Policy Editor on Windows 11 Home Edition. GPE is a Windows administration tool, that allows configuring many necessary settings of computers or networks. And, delete dialog box is part of it.
But, it might not work in Windows 11 Home. However, you can install Policy Plus App, which is an alternative to GPE.
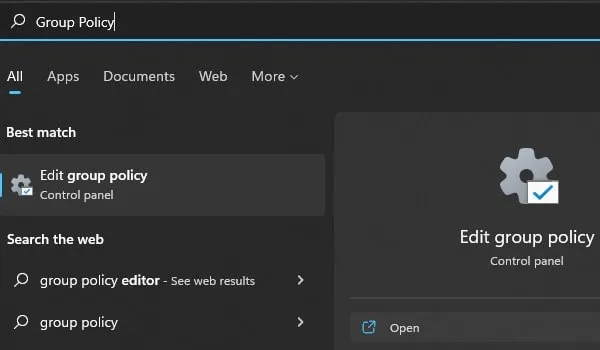
- Search for Group Policy in Windows 11. Edit Group Policy will appear in search results, click on open.
- Once Group Policy Windows will get open, you will see Local Computer Policy in the left pane.
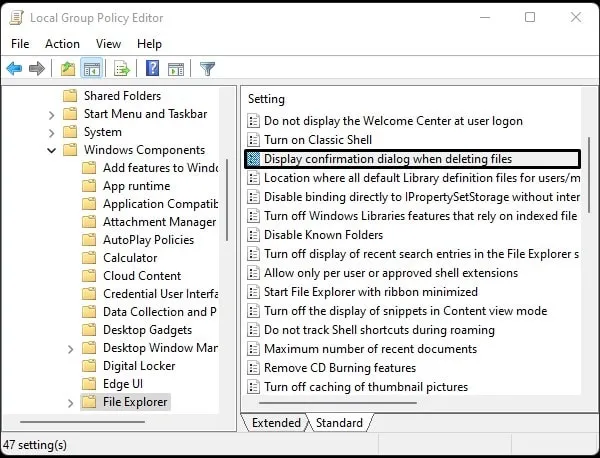
Go to User Configuration > Administrative Template > Windows Components > File Explorer- Now, on the right side, you will see the Display Confirmation dialog when deleting files. Do double-click on it.
- A window will appear, select the “Enabled” option.
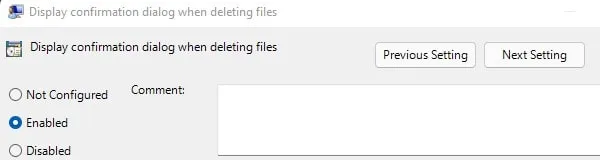
- Click on Apply and Click on Ok. That’s it, now you can close Group Policy Editor Window.
Method 3: Use Registry Editor
If Group Policy Editor is not available on your Windows. Then, you can use Registry Editor to forcefully enable this dialog box. If you haven’t used Registry Editor in the past, then skip this method. Because Registry Editor is a crucial part of the Windows system.
- First, Press Windows + R key to open Run Window. Type Regedit in the run window and press enter.
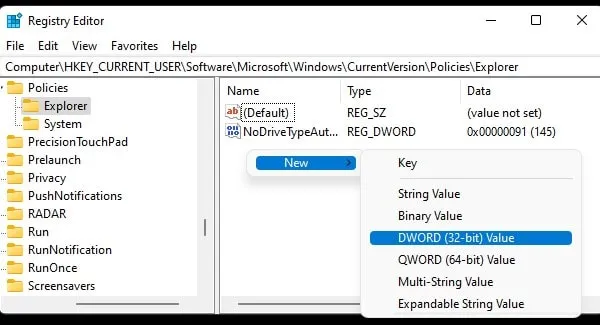
- Registry Editor will get open. Now, copy the following path and paste it inside the Registry Editor address bar, and press enter.
HKEY_CURRENT_USER\Software\Microsoft\Windows\CurrentVersion\Policies\Explorer- Now, on the right side, right-click anywhere and then select new, and then click on DWORD (32-bit) Value.
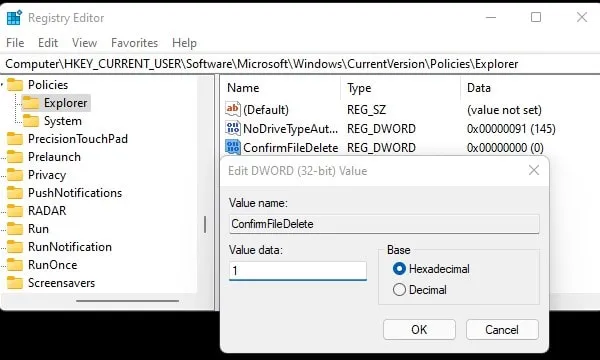
- A new key will get created, rename the new key with ConfirmFileDelete.
- Now, double-click on the ConfirmFileDelete registry key to edit its value data of it.
6. A small window will appear. In value data, type 1 instead of 0 and click on ok. That’s it, you have successfully enabled Delete File Confirmation Dialog in Windows 11.
Ok, so these were the three methods to enable the confirmation box for deleting files. I suggest you use the first method only because it is the easiest one. But, if the first method doesn’t work, then you can try the remaining two.